WepsTech
Your Daily Dose of Tech News
Welcome to the very interesting tutorial. In this tutorial, I will explain to you. How you can implement voice recognition in iOS with swift 5 programming language. In other words you will learn the complete strategy for the voice or speech recognition. I have complete this functionality in swift 5 for iOS 13.4 with Xcode Version 11.4.1. And you can find video tutorial also.
The apple doc says that the speech recognition API is so powerful. That it can give more information about the recognized data. Like the confidence level, more interpretation about what the user might have said, timing info, etc. And this complete document you can find here – https://developer.apple.com/videos/play/wwdc2016/509/
iOS 10 brings a brand new Speech Recognition API. That allows you to perform rapid and contextually informed speech recognition. And this is in both file-based and realtime scenarios. In this tutorial, you will learn all about the new API and how to bring advanced speech recognition services into your apps. And this we will done with realtime scenario.
The audio for recognition can be either a pre-recorded file or live audio from a microphone. Any device running iOS 10 and above supports this feature and it can recognize up to 50 languages.
Audio recognition
So let’s begin with development. At the very first you have to create the new project. Because in this tutorial we are starting from the beginning.
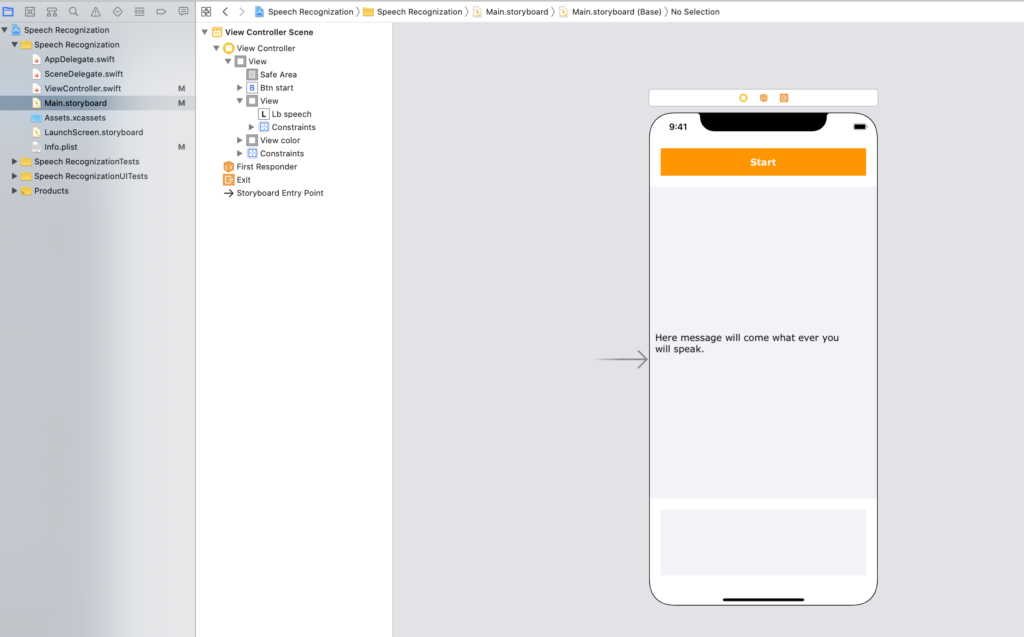
After that, Please create property and outlet in your view controller. As given below!
 //MARK: - OUTLET PROPERTIES
    @IBOutlet weak var lb_speech: UILabel!
    @IBOutlet weak var view_color: UIView!
    @IBOutlet weak var btn_start: UIButton!

    //MARK: - Local Properties
    let audioEngine = AVAudioEngine()
    let speechReconizer : SFSpeechRecognizer? = SFSpeechRecognizer()
    let request = SFSpeechAudioBufferRecognitionRequest()
    var task : SFSpeechRecognitionTask!
    var isStart : Bool = false
And before integrate that you have to import speech library. After that, Follow below code..!
You have to request authorization method before performing any other tasks associated with speech recognition. This method executes asynchronously, returning shortly after you call it. At some point later, the system calls the provided handler block with the results. And the code is given as below
Here we will start the speech recognition task. And this task will return the expected result. So below is the code for that.
    func startSpeechRecognization(){
        let node = audioEngine.inputNode
        let recordingFormat = node.outputFormat(forBus: 0)

        node.installTap(onBus: 0, bufferSize: 1024, format: recordingFormat) { (buffer, _) in
            self.request.append(buffer)
        }

        audioEngine.prepare()
        do {
            try audioEngine.start()
        } catch let error {
            alertView(message: "Error comes here for starting the audio listner =\(error.localizedDescription)")
        }

        guard let myRecognization = SFSpeechRecognizer() else {
            self.alertView(message: "Recognization is not allow on your local")
            return
        }

        if !myRecognization.isAvailable {
            self.alertView(message: "Recognization is free right now, Please try again after some time.")
        }

        task = speechReconizer?.recognitionTask(with: request, resultHandler: { (response, error) in
            guard let response = response else {
                if error != nil {
                    self.alertView(message: error.debugDescription)
                }else {
                    self.alertView(message: "Problem in giving the response")
                }
                return
            }

            let message = response.bestTranscription.formattedString
            print("Message : \(message)")
            self.lb_speech.text = message


            var lastString: String = ""
            for segment in response.bestTranscription.segments {
                let indexTo = message.index(message.startIndex, offsetBy: segment.substringRange.location)
                lastString = String(message[indexTo...])
            }

            if lastString == "red" {
                self.view_color.backgroundColor = .systemRed
            } else if lastString.elementsEqual("green") {
                self.view_color.backgroundColor = .systemGreen
            } else if lastString.elementsEqual("pink") {
                self.view_color.backgroundColor = .systemPink
            } else if lastString.elementsEqual("blue") {
                self.view_color.backgroundColor = .systemBlue
            } else if lastString.elementsEqual("black") {
                self.view_color.backgroundColor = .black
            }


        })
    }
After that, You work almost completed. As you know that we have start speech recognition task. So after completing our work we have to stop that task. So now I am writing the code for stoping this task.
//MARK: UPDATED FUNCTION

    func cancelSpeechRecognization() {
        task.finish()
        task.cancel()
        task = nil

        request.endAudio()
        audioEngine.stop()
        //audioEngine.inputNode.removeTap(onBus: 0)

        //MARK: UPDATED
        if audioEngine.inputNode.numberOfInputs > 0 {
            audioEngine.inputNode.removeTap(onBus: 0)
        }
    }
😊😊😊😊👇🏻
Great now! finally we will call as this functionality as per our requirement. So at the very first we will call for request authorisation. So we will call requestPermission() function form viewDidLoad() method. And after that, we will activate or deactivate, speech recognition task as per our requirement. As it is mention below..!
    @IBAction func btn_start_stop(_ sender: Any) {
        //MARK:- Coding for start and stop sppech recognization...!
        isStart = !isStart
        if isStart {
            startSpeechRecognization()
            btn_start.setTitle("STOP", for: .normal)
            btn_start.backgroundColor = .systemGreen
        }else {
            cancelSpeechRecognization()
            btn_start.setTitle("START", for: .normal)
            btn_start.backgroundColor = .systemOrange
        }
    }
Wonderful work 😊😊😊.
In Conclusion, If you are still confuse about the complete process implementation then you can go through with the video tutorial which is given here. For more useful tutorial you can follow the below list.