WepsTech
Your Daily Dose of Tech News
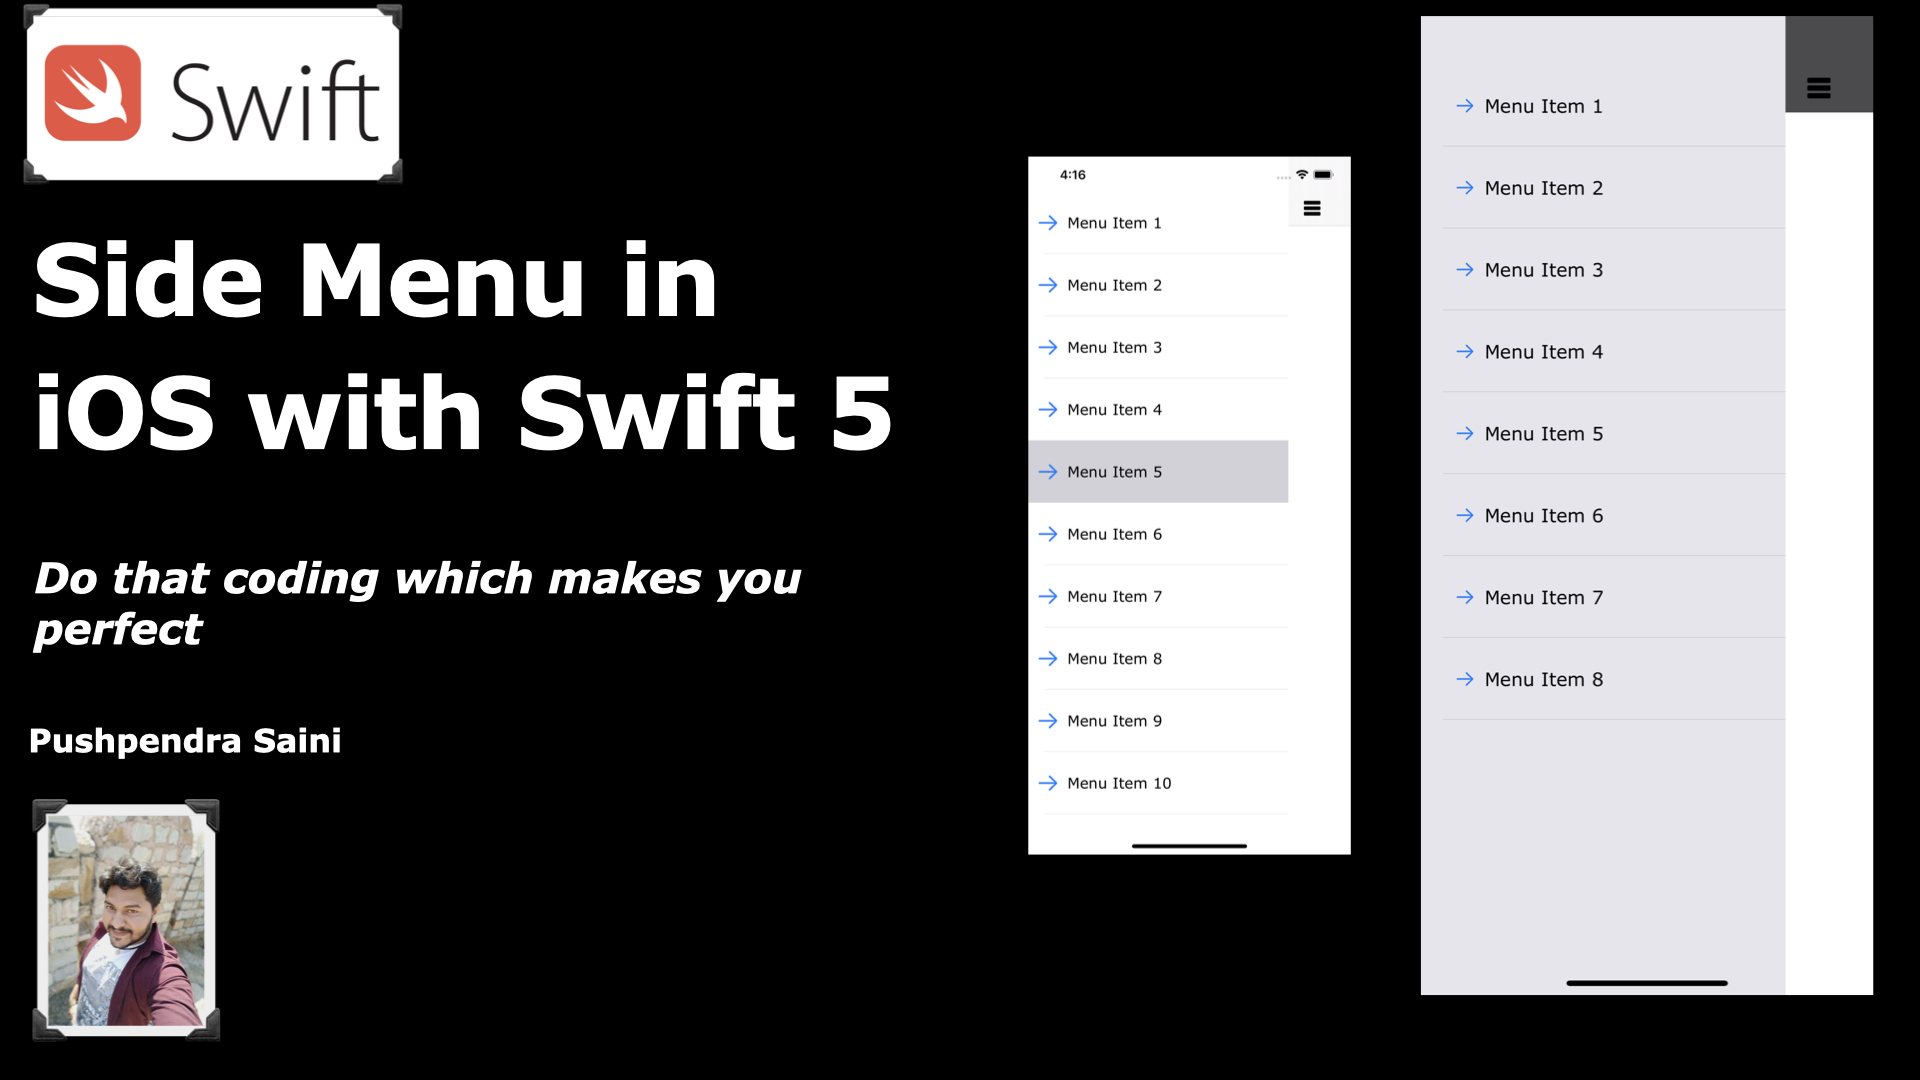
Hello, Guys welcome this important tutorial. Are you struggling to create an appealing slide out menu with Xcode? Don’t worry we have you covered!. We have explained to you that how you can create a side menu in iOS swift 5. In other words, This tutorial will be very helpful for you because,This tutorial contain very deep knowledge about the slide menu integration. And this is a topic that will make your iOS application more attractive.
It is very easy to implement a side menu, oftentimes called a “drawer”. We will make this post simple, and easy to follow. No matter what your project requires, you will be able to follow this guide and implement it in your projects.
Phase 1:
Pase 2 :

After that, let’s begin with the programming part, And for the menu controller, you need to create only three controllers. Which is given below.
I hope you have read above all information. So After all that we are, Let’s get to the point. Create the property in ContainerController.swift.
    //MARK:- All the properties
    var menuController : MenuController!
    var centerController : UIViewController!
    var homeController : HomeController!
    var isExpandMenu : Bool = false
Great work..!!😊 Now let’s Intialize the HomeController.swift from the viewDidLoad(). Which is given as
if homeController == nil {
            homeController = HomeController()
            homeController.delegate = self
            centerController = UINavigationController(rootViewController: homeController)
            self.view.addSubview(centerController.view)
            addChild(centerController)
            centerController.didMove(toParent: self)
        }
Above all great work..!! Here I have to use a homeController.delegate = self. Please comment on this line for now.
After that, Let’s do some programming for the HomeController.swift so that we can achieve our first milestone. For instance, Add the property which is given below.
//MARK: – Properties
var delegate : MenuDelegate?
So at the very first initialize your navigation item as given below, in your viewdidLoad function.
self.navigationItem.title = "Main Controller"
self.navigationItem.leftBarButtonItem = UIBarButtonItem(image: #imageLiteral(resourceName: "menu").withRenderingMode(.alwaysOriginal) , style: .plain, target: self, action: #selector(handleMenu))
Well done developers, After that, Create handleMenu #selector so that we can perform the action for menu item.
//MARK: - Menu Handler
    @objc func handleMenu(){
        print("Click On menu")
        delegate?.menuHandler()
    }
After that, I think you are thinking about MenuDelegate. So let’s have look for this. Now Open Protocols.swift and Programming this file as given below.
import Foundation

protocol MenuDelegate {
    func menuHandler(index : Int)
}
After that, Now you can uncomment the homeController.delegate = self from the ContainerController.swift so that we can see the result for our work.

As per the current design, we have to create MenuController.swift, In addition you have to create MenuController.swift with extended UITableViewController. So for that, you have to initialize as per your requirement. And if you want more details about this that you can watch this video.
In Addition, I would like to tell you that, After creating the properties of ContainerController. You have to some deep integration in which you get a better understanding from the given video. Below is an very important code for the Container Controller.
extension ContainerController : MenuDelegate {
    func menuHandler() {
        print("Menu Handler get call \(index)")
        if !isExpandMenu {
            configureMenu()
        }
        isExpandMenu = !isExpandMenu
        showMenu(isExpand: isExpandMenu)
    }
}
Above all is great Work for this, Now we will look for the configureMenu(). So below is the code for that.
func configureMenu()  {
        if menuController == nil {
            let storyBoard = UIStoryboard(name: "Main", bundle: nil)
            menuController = storyBoard.instantiateViewController(identifier: "MenuController") as? MenuController
            menuController.delegate = self
            view.insertSubview(menuController.view, at: 0)
            addChild(menuController)
            menuController.didMove(toParent: self)
            print("Menu Configure get Call...")
        }
    }
😊😊 Wonderful,
In Addition, As I am saying that Please watch the video. So you can create a better project. In Conclusion, I would like to tell you that, If you reading this line then please subscribe to my YouTube Channel for the latest update and comment into the comment box. And tell me that are you happy about this tutorial or you want any change in this?

varun
How can we add different page links after we implement side menu
Pushpendra Kumar
It’s better, If you find it from UIStoryBoard(name : “Main”, bundle : nil).initiate…………
iHerb Code
Unequivocally, excellent answer