WepsTech
Your Daily Dose of Tech News
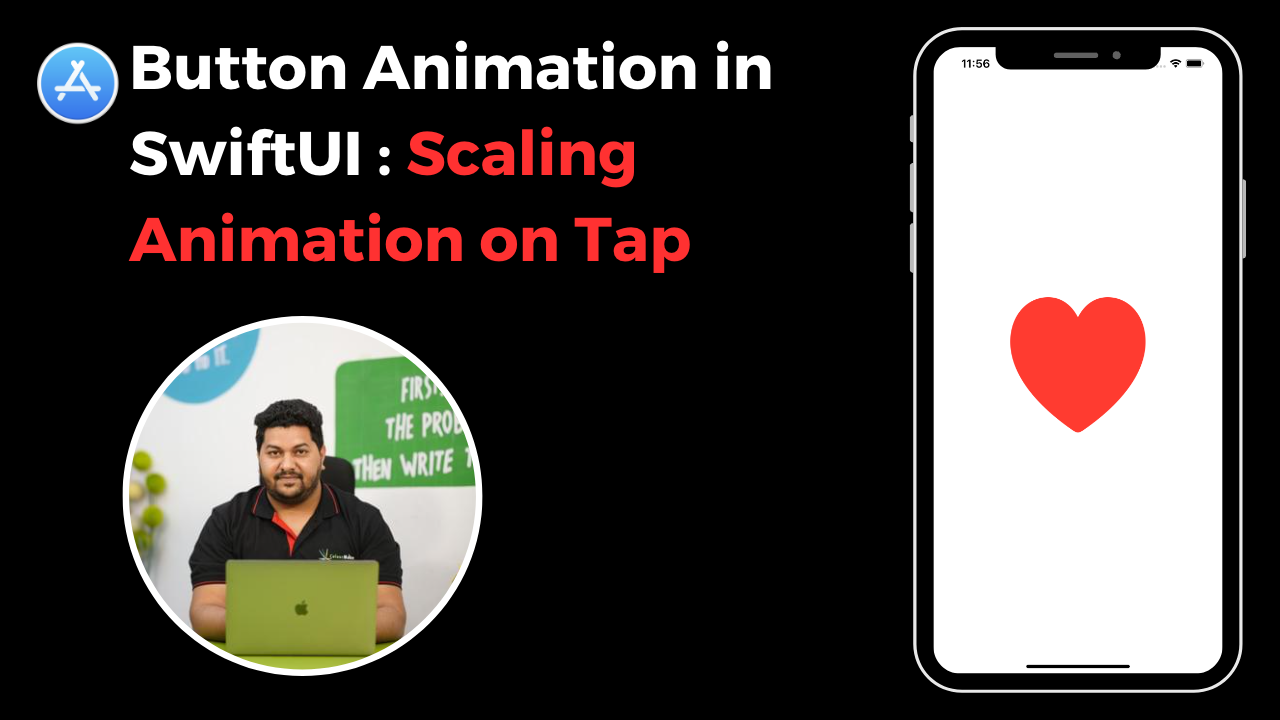
Welcome to our comprehensive guide on creating captivating button animation in SwiftUI. In this Video tutorial, we will focus on implementing a scaling animation that dynamically responds to user interaction. By mastering this technique, you can make your buttons come alive with smooth and engaging animations, enhancing the overall user experience.
By incorporating scaling animations, you can bring a sense of interactivity and visual interest to your app’s buttons. These animations respond dynamically to user input, providing a seamless and captivating user experience. In this tutorial, we will explore how to implement scaling animations in SwiftUI, allowing you to create stunning and engaging user interactions.
SwiftUI is a powerful framework for building user interfaces across Apple platforms. With its declarative syntax, SwiftUI simplifies the creation of complex UI elements, including animations. Animations play a crucial role in creating delightful user experiences by adding visual interest and interactivity to your ap
To get started, let’s create a new SwiftUI project. Open Xcode and follow the steps to set up your project. Once you have the project structure in place, you’re ready to dive into button animation.
Basically, In SwiftUI, creating a button is a straightforward process. We’ll demonstrate how to create a basic button and discuss different button styles and customization options. It’s important to consider accessibility considerations while designing buttons to ensure inclusivity.
The scaling animation is a visually appealing effect that occurs when the user taps on a button. We’ll show you how to add a tap gesture recognizer to the button and animate the scale transform using SwiftUI’s animation modifiers. This will give your button a smooth and dynamic response when interacted with.
Here furthermore, I am sharing you the code snippet for this.
import SwiftUI

struct ContentView: View {
    @State var isClicked : Bool = false
    var body: some View {
        VStack {
            Button {
                print("Hello I am Clicked")
                isClicked.toggle()
            } label: {
                Image(systemName: isClicked ? "heart.fill" : "heart")
                    .resizable()
                    .renderingMode(.original)
                    .frame(width: 100, height: 100, alignment: .center)
            }.buttonStyle(ScaleButtonStyle())

        }
        .padding()
    }
}

struct ContentView_Previews: PreviewProvider {
    static var previews: some View {
        ContentView()
    }
}


struct ScaleButtonStyle: ButtonStyle {
    func makeBody(configuration: Self.Configuration) -> some View {
        configuration.label
            .scaleEffect(configuration.isPressed ? 2 : 1)
    }
}
Additionally, To create a polished animation, we’ll explore additional animation modifiers available in SwiftUI. We’ll discuss techniques to adjust the animation’s duration, delay, and easing to achieve the desired effect. Correspondingly, These adjustments allow you to customize the animation experience according to your design requirements.
Lastly In this tutorial, we explored the process of implementing a scaling animation on a SwiftUI button. By mastering button animation techniques, you can create visually stunning and interactive user interfaces. Animations not only enhance the user experience but also make your app stand out. We encourage you to experiment with different animations and explore advanced SwiftUI animation techniques to take your app to the next level. SourceCode
Stay tuned for more SwiftUI tutorials and tips. Happy animating!
Furthermore Learn More on for Coding
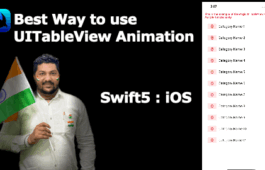
UITableView Animation | Professional IOS Developer
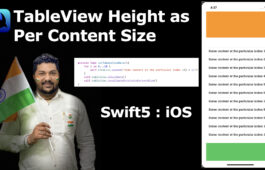
TableView Height As Per Content Size In Swift5 : IOS
Pagination In UICollectionView With Swift 5