WepsTech
The world of development
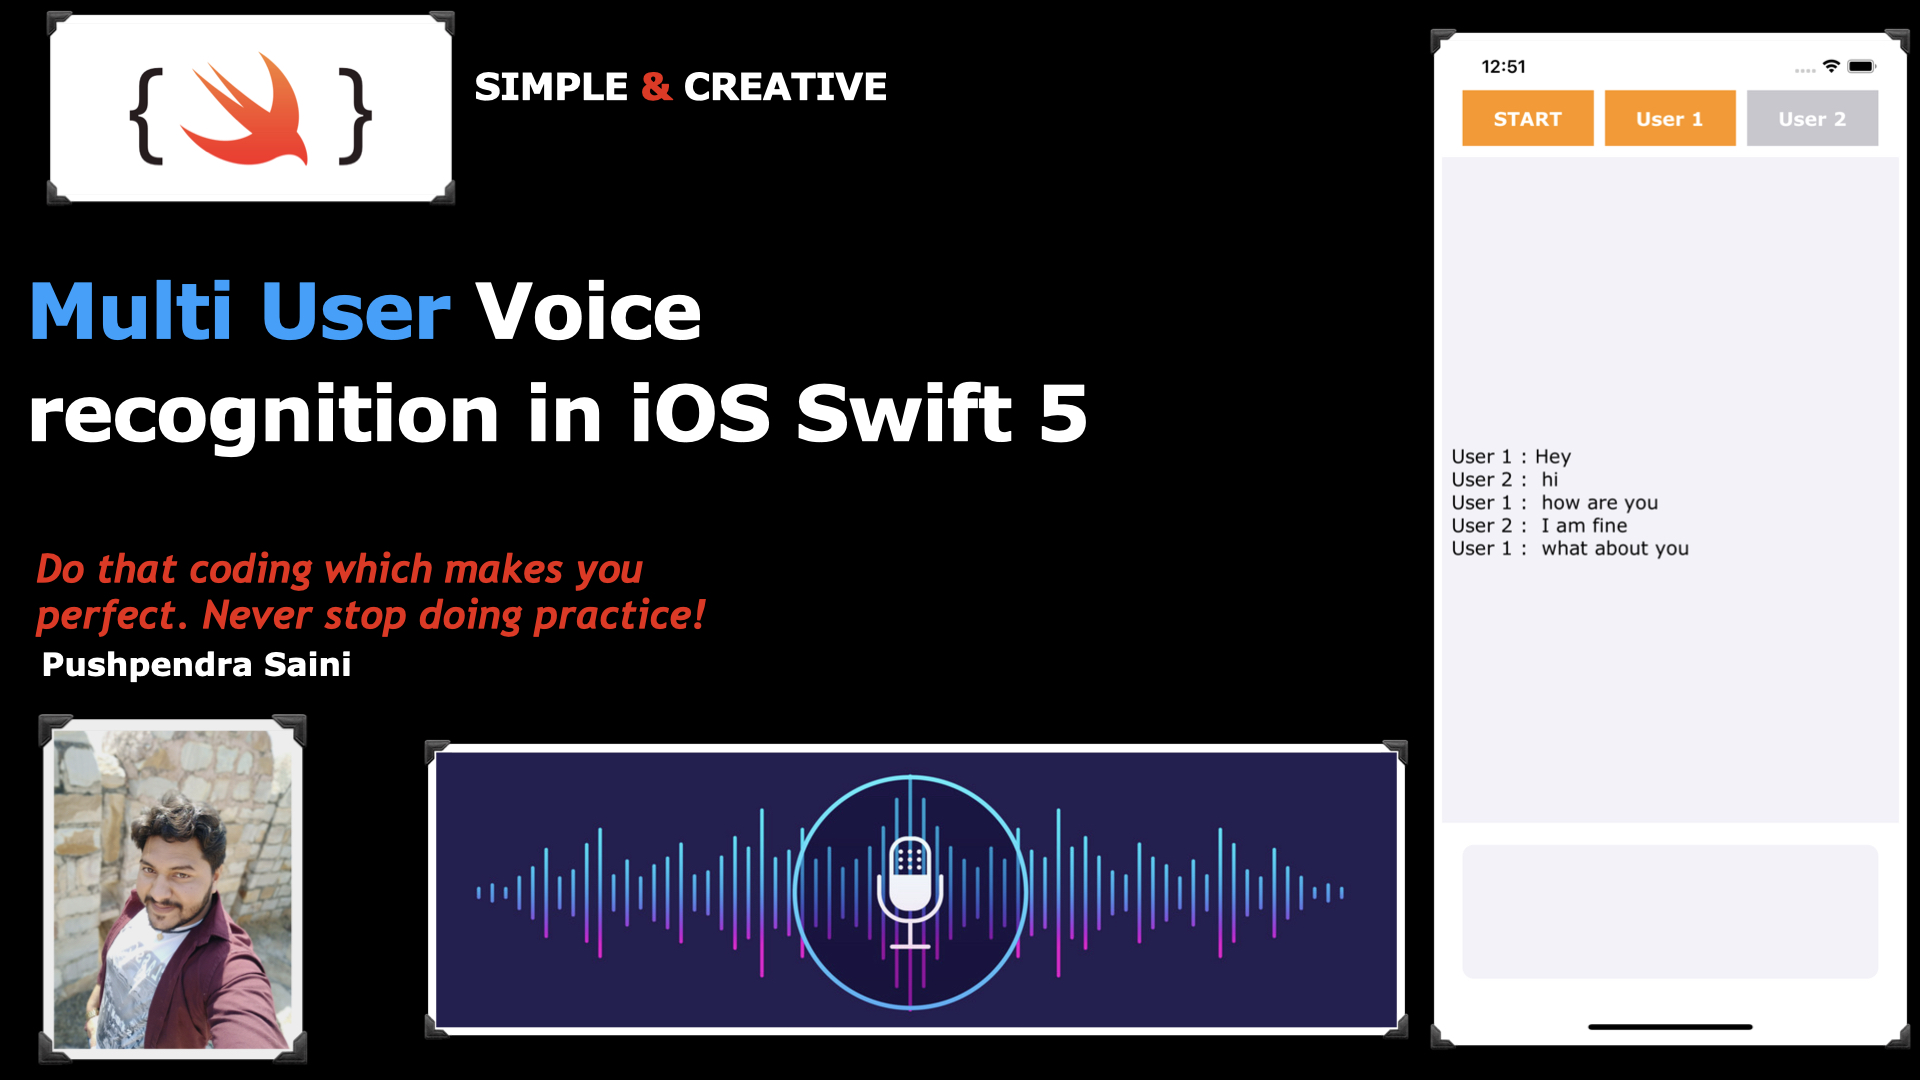
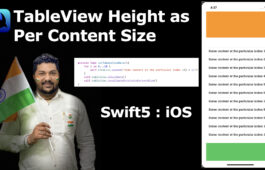
Hey, Guys welcome to this tutorial. In this complete video, I will make you understand the quick trick for Multi User Voice recognition in iOS Swift 5. And this is a simple way to achieve our goals. Through this simple video tutorial, you can learn more interesting things about the Multi User Voice recognition in iOS Swift 5 Programming Language. In this video tutorial, you can learn the basics of the speech or voice recognizer in iOS swift 5. And you can build a wonderful voice or speech application in iOS with swift 5 programming language. And also you can get the answer of how to integrate Voice recognition in iOS Swift 5. So watch the complete video. And if you watched the complete video then do not forget to give your suggestion into the comment box. Because your feedback & suggestions do matter for me 😊😊😊😊👇🏻
And finally, I would like to say that, If you like this video and it’s helpful for your project then click on the like button and do not forget to subscribe to this YouTube channel for future updates.
I hope, You have watch the complete video. Now get the important code, Which has been used in this video.
//
//  ViewController.swift
//  Speech Recognization
//
//  Created by Pushpendra on 19/04/20.
//  Copyright © 2020 Pushpendra. All rights reserved.
//

import UIKit
import Speech

class ViewController: UIViewController, SFSpeechRecognizerDelegate{

    //MARK: - OUTLET PROPERTIES
    @IBOutlet weak var lb_speech: UILabel!
    @IBOutlet weak var view_color: UIView!
    @IBOutlet weak var btn_start: UIButton!
    @IBOutlet weak var btnUser1: UIButton!
    @IBOutlet weak var btnUser2: UIButton!

    //MARK: - Local Properties
    let audioEngine = AVAudioEngine()
    let speechReconizer : SFSpeechRecognizer? = SFSpeechRecognizer()
    let request = SFSpeechAudioBufferRecognitionRequest()
    var task : SFSpeechRecognitionTask!
    var isStart : Bool = false


    private var isUser1 = false
    private var messageStrings = [String]()

    private var fullMessageString = ""
    private var singleMessageString = ""


    override func viewDidLoad() {
        super.viewDidLoad()
        view_color.layer.cornerRadius = 10

        self.btnUser1.backgroundColor = .systemGray3
        self.btnUser2.backgroundColor = .systemGray3

        self.btnUser1.addTarget(self, action: #selector(checkUser), for: .touchUpInside)
        self.btnUser2.addTarget(self, action: #selector(checkUser), for: .touchUpInside)

        requestPermission()
    }


    @IBAction func btn_start_stop(_ sender: Any) {
        //MARK:- Coding for start and stop sppech recognization...!
        isStart = !isStart
        if isStart {
            self.isUser1 = true
            btnUser1.backgroundColor = .systemOrange
            startSpeechRecognization()
            btn_start.setTitle("STOP", for: .normal)
            btn_start.backgroundColor = .systemGreen
        }else {
            cancelSpeechRecognization()
            btn_start.setTitle("START", for: .normal)
            btn_start.backgroundColor = .systemOrange
        }
    }

    @objc private func checkUser(sender : UIButton){

        self.singleMessageString = self.fullMessageString

        self.messageStrings.removeAll()
        self.messageStrings.append(self.lb_speech.text ?? "Nothing found")


        if sender == btnUser1 {
            self.isUser1 = true


            self.btnUser1.backgroundColor = .systemOrange
            self.btnUser2.backgroundColor = .systemGray3
        }else {
            self.isUser1 = false
            self.btnUser2.backgroundColor = .systemOrange
            self.btnUser1.backgroundColor = .systemGray3
        }
    }

    func requestPermission()  {
        self.btn_start.isEnabled = false
        SFSpeechRecognizer.requestAuthorization { (authState) in
            OperationQueue.main.addOperation {
                if authState == .authorized {
                    print("ACCEPTED")
                    self.btn_start.isEnabled = true
                } else if authState == .denied {
                    self.alertView(message: "User denied the permission")
                } else if authState == .notDetermined {
                    self.alertView(message: "In User phone there is no speech recognization")
                } else if authState == .restricted {
                    self.alertView(message: "User has been restricted for using the speech recognization")
                }
            }
        }
    }


    func startSpeechRecognization(){
        let node = audioEngine.inputNode
        let recordingFormat = node.outputFormat(forBus: 0)

        node.installTap(onBus: 0, bufferSize: 1024, format: recordingFormat) { (buffer, _) in
            self.request.append(buffer)
        }

        audioEngine.prepare()
        do {
            try audioEngine.start()
        } catch let error {
            alertView(message: "Error comes here for starting the audio listner =\(error.localizedDescription)")
        }

        guard let myRecognization = SFSpeechRecognizer() else {
            self.alertView(message: "Recognization is not allow on your local")
            return
        }

        print(myRecognization.isAvailable)
        if !myRecognization.isAvailable {
            self.alertView(message: "Recognization is not free right now, Please try again after some time.")
        }

        task = speechReconizer?.recognitionTask(with: request, resultHandler: { (response, error) in
            guard let response = response else {
                if error != nil {
                    self.alertView(message: error.debugDescription)
                }else {
                    self.alertView(message: "Problem in giving the response")
                }
                return
            }
            var message = response.bestTranscription.formattedString

            self.fullMessageString = message

            if self.isUser1 {
                let replaced = message.replacingOccurrences(of: self.singleMessageString, with: "")
                message = "\nUser 1 : \(replaced)"
            } else {
                let replaced = message.replacingOccurrences(of: self.singleMessageString, with: "")
                message = "\nUser 2 : \(replaced)"
            }

            var finalString = ""

            for str in self.messageStrings {
                finalString = "\(finalString)\(str)"
            }

            finalString = "\(finalString)\(message)"

            self.lb_speech.text = "\(finalString)"

        })
    }

    func cancelSpeechRecognization() {
        task.finish()
        task.cancel()
        task = nil

        request.endAudio()
        audioEngine.stop()
        //audioEngine.inputNode.removeTap(onBus: 0)

        //MARK: UPDATED
        if audioEngine.inputNode.numberOfInputs > 0 {
            audioEngine.inputNode.removeTap(onBus: 0)
        }
    }


    func alertView(message : String) {
        let controller = UIAlertController.init(title: "Error ocured...!", message: message, preferredStyle: .alert)
        controller.addAction(UIAlertAction(title: "OK", style: .default, handler: { (_) in
            controller.dismiss(animated: true, completion: nil)
        }))
        self.present(controller, animated: true, completion: nil)
    }
}
Grate, I hope you have done with this.
In Conclusion, You have done with this tutorial. And I hope now the concept of Multi User Voice recognition in iOS with swift Programming Language is clear. Firstly, If you have any doubts regarding theMulti User Voice recognition in iOS. Then you can comment into the comment box. And If you like this tutorial with a complete description of the simple and attractive tutorial in iOS then please like my video on YouTube and do not forget to subscribe to my YouTube channel. Because you will get lots of videos related to swift development with very sort tricks.
In addition, If you are more curious about the development and knowing about tutorials then follow the below links
dublaj
Extraordinarily significant data you have said, thank you for putting up. Virginie Edan Miguelita
דירות דיסקרטיות
You ought to take part in a contest for one of the best sites on the net. I will highly recommend this blog!