WepsTech
Your Daily Dose of Tech News
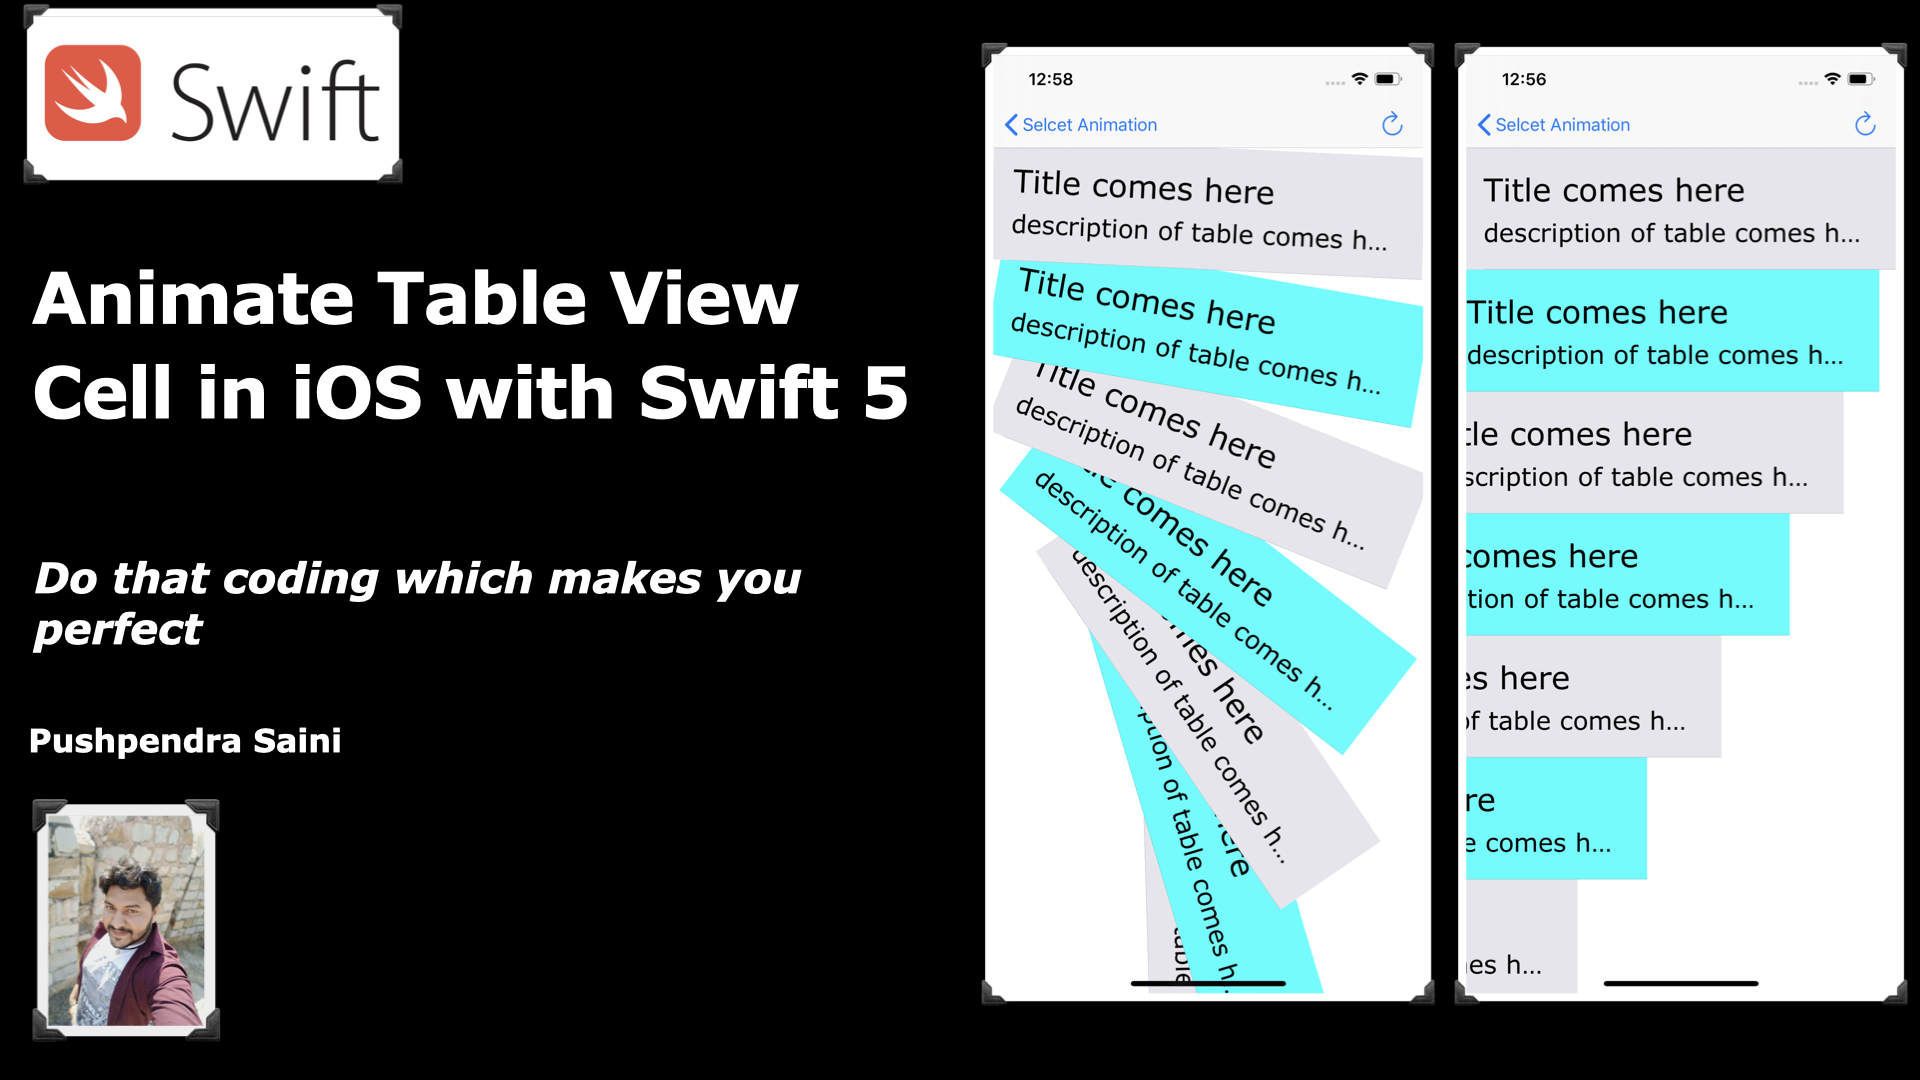
Hello Guys, Welcome to this tutorial. I hope you are doing well. In this tutorial I will explain you how to animate UITableViewCell. And for this I will use Swift 5 as a Programming language and Xcode 11.4 as a IDE.
And I am sure after reading and implementing this complete tutorial. You will become a professional and expert in that. Because I am going to clear each and everything with the help of a basic example.
If you are looking for, how to make your UITableViewCell attractive and how you can animate it? Then hopefully you are on the right page. So before programming let’s know about a little bit about UITableView and UITableViewCell.
UITableView is a ViewController that contains multiple cells. It has two properties, the first property is a delegate and another is a data source. UITableView delegate is used for actions and modification methods. Whereas the data-source is used for setting the data in a particular manner and in a particular place. So that’s the short description of UITableView.
UITableViewCell Defines the attributes and behavior of cells in a table view. You can set a table cell’s selected-state appearance, support editing functionality, display accessory views (such as a switch control), and specify background appearance and content indentation.
After all that definition now we will move towards programming. At the very first you need to create the UITableView Controller and inside the UITable View controller you have to create the UITableViewCell.
After doing that now you have to set the delegates and dataSource method of the UITableView. If you have done with it then at the end you have to use willDisplay method of UITableView delegates as mention below.
import UIKit
import QuartzCore

class TableViewController: UITableViewController {

    override func viewDidLoad() {
        super.viewDidLoad()
    }

    override func numberOfSections(in tableView: UITableView) -> Int {
        return 1
    }

    override func tableView(_ tableView: UITableView, numberOfRowsInSection section: Int) -> Int {
        return 50
    }


    override func tableView(_ tableView: UITableView, cellForRowAt indexPath: IndexPath) -> UITableViewCell {
        let cell = tableView.dequeueReusableCell(withIdentifier: "cell", for: indexPath) as! TableViewCell
        return cell
    }


    override func tableView(_ tableView: UITableView, willDisplay cell: UITableViewCell, forRowAt indexPath: IndexPath) {
        // MARK: - You have to write code for animation here
    }
}
😊 Great work, Now will write the animation code.
Whatever code I am writing you have to write inside the willDisplay function only. So first animation will be as
cell.transform = CGAffineTransform(rotationAngle: 360)
UIView.animate(withDuration: 0.5, delay: 0.05 * Double(indexPath.row), animations: {
   cell.transform = CGAffineTransform(rotationAngle: 0.0)
})
Wonderful work, Now we will do different magic 😊😊😁
Wave animation very very attractive animation. I also like this animation. I will suggest you that. You should try once this animation. I am sure you will also like this 😊😊
cell.transform = CGAffineTransform(translationX: cell.contentView.frame.width, y: 0)
UIView.animate(withDuration: 4, delay: 0.05 * Double(indexPath.row), usingSpringWithDamping: 0.4, initialSpringVelocity: 0.1, options: .curveEaseIn, animations: {
      cell.transform = CGAffineTransform(translationX: cell.contentView.frame.width, y: cell.contentView.frame.height)
})
Great 😊😊😊 If you like this animation please let me know in comment box. After that we have another animation.
cell.alpha = 0
UIView.animate(withDuration: 0.5, delay: 0.05 * Double(indexPath.row), animations: {
      cell.alpha = 1
})
Wonderful..!! You done this 😊😊😊 Now another animation is
cell.transform = CGAffineTransform(translationX: 0, y: cell.contentView.frame.height)
UIView.animate(withDuration: 0.5, delay: 0.05 * Double(indexPath.row), animations: {
      cell.transform = CGAffineTransform(translationX: cell.contentView.frame.width, y: cell.contentView.frame.height)
})
Wonderful work, Now let’s see the the different animation list. In the below TableViewController I am setting all the animation. You can integrate one by one these animation.
import UIKit
import QuartzCore
class TableViewController: UITableViewController {
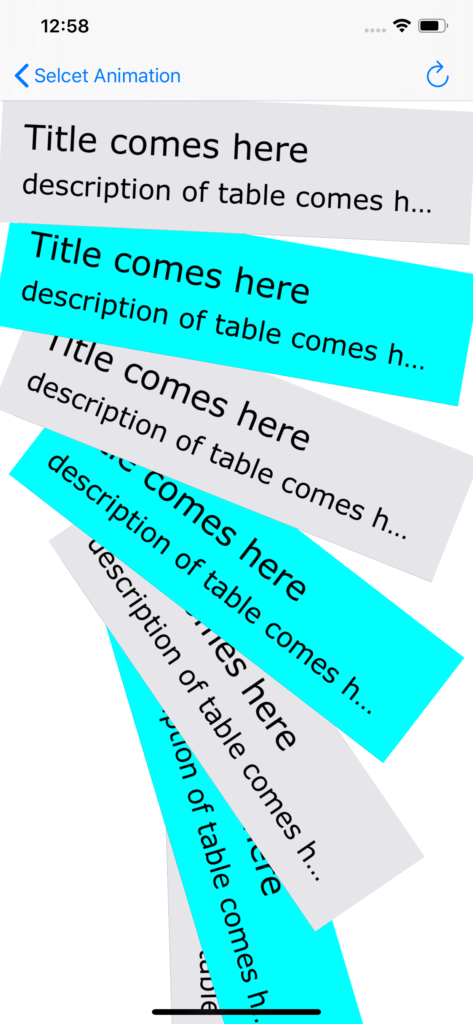
// MARK: Spacial Animation CARD DROP
let TipInCellAnimatorStartTransform: CATransform3D = {
let rotationDegrees: CGFloat = -15.0
let rotationRadians: CGFloat = rotationDegrees * (CGFloat(Double.pi)/180.0)
let offset = CGPoint(x: -20, y: -20)
var startTransform = CATransform3DIdentity
startTransform = CATransform3DRotate(CATransform3DIdentity,
rotationRadians, 0.0, 0.0, 1.0)
startTransform = CATransform3DTranslate(startTransform, offset.x, offset.y, 0.0)
return startTransform
}()
override func viewDidLoad() {
super.viewDidLoad()
}
@IBAction func refreshTable(_ sender: Any) {
self.tableView.reloadData()
}
override func numberOfSections(in tableView: UITableView) -> Int {
return 1
}
override func tableView(_ tableView: UITableView, numberOfRowsInSection section: Int) -> Int {
return 50
}
override func tableView(_ tableView: UITableView, cellForRowAt indexPath: IndexPath) -> UITableViewCell {
let cell = tableView.dequeueReusableCell(withIdentifier: "cell", for: indexPath) as! TableViewCell
if indexPath.row % 2 == 0 {
cell.contentView.backgroundColor = .systemGray5
} else {
cell.contentView.backgroundColor = .cyan
}
return cell
}
override func tableView(_ tableView: UITableView, willDisplay cell: UITableViewCell, forRowAt indexPath: IndexPath) {
// MARK: - alpha animation
/*cell.alpha = 0
UIView.animate(withDuration: 0.5, delay: 0.05 * Double(indexPath.row), animations: {
cell.alpha = 1
})*/
// MARK: - Wave animation
/*cell.transform = CGAffineTransform(translationX: cell.contentView.frame.width, y: 0)
UIView.animate(withDuration: 4, delay: 0.05 * Double(indexPath.row), usingSpringWithDamping: 0.4, initialSpringVelocity: 0.1,
options: .curveEaseIn, animations: {
cell.transform = CGAffineTransform(translationX: cell.contentView.frame.width, y: cell.contentView.frame.height)
})*/
// MARK: - Left to right animation
/*cell.transform = CGAffineTransform(translationX: 0, y: cell.contentView.frame.height)
UIView.animate(withDuration: 0.5, delay: 0.05 * Double(indexPath.row), animations: {
cell.transform = CGAffineTransform(translationX: cell.contentView.frame.width, y: cell.contentView.frame.height)
})*/
// MARK: - Top to bottom animation
/*cell.transform = CGAffineTransform(translationX: cell.contentView.frame.width, y: 0)
UIView.animate(withDuration: 0.5, delay: 0.05 * Double(indexPath.row), animations: {
cell.transform = CGAffineTransform(translationX: cell.contentView.frame.width, y: cell.contentView.frame.height)
})*/
// MARK: - Bounce animation
/*cell.transform = CGAffineTransform(translationX: cell.contentView.frame.width, y: 0)
UIView.animate(withDuration: 0.5, delay: 0.05 * Double(indexPath.row), usingSpringWithDamping: 0.4, initialSpringVelocity: 0.1,
options: .curveEaseIn, animations: {
cell.transform = CGAffineTransform(translationX: cell.contentView.frame.width, y: cell.contentView.frame.height)
})*/
// MARK: - Right to left animation
/*cell.transform = CGAffineTransform(translationX: cell.contentView.frame.width, y: 0)
UIView.animate(
withDuration: 0.5,
delay: 0.05 * Double(indexPath.row),
options: [.curveEaseInOut],
animations: {
cell.transform = CGAffineTransform(translationX: 0, y: 0)
})*/
// MARK: - Rotate animation
cell.transform = CGAffineTransform(rotationAngle: 360)
UIView.animate(withDuration: 0.5, delay: 0.05 * Double(indexPath.row), animations: {
cell.transform = CGAffineTransform(rotationAngle: 0.0)
})
// MARK: - Linear animation
/*cell.transform = CGAffineTransform(translationX: cell.contentView.frame.width, y: cell.contentView.frame.height)
UIView.animate(
withDuration: 0.5,
delay: 0.05 * Double(indexPath.row),
options: [.curveLinear],
animations: {
cell.transform = CGAffineTransform(translationX: 0, y: 0)
})*/
// MARK: - Zoom animation
/*cell.transform = CGAffineTransform(scaleX: 0, y : 0)
UIView.animate(withDuration: 0.5, animations: {
cell.transform = CGAffineTransform(scaleX: 1, y : 1)
})*/
// MARK: - Drag from right to left from -200 of X animation
/*cell.center.x += 200
UIView.animate(withDuration: 0.5, delay: 0.05 * Double(indexPath.row), animations: {
cell.center.x -= 200
})*/
// MARK: Spacial Animation CARD DROP
/*let view = cell.contentView
view.layer.transform = TipInCellAnimatorStartTransform
view.layer.opacity = 0.8
UIView.animate(withDuration: 0.5) {
view.layer.transform = CATransform3DIdentity
view.layer.opacity = 1
}*/
}
}
These all are really great animation. If you would like to watch the video regarding these animation and integration then you can watch after click here.
I am happy to help you guys. I want to learn something more about iOS Application development. Then you can go through by the below links. These all topics are very very interesting.
I hope you will enjoy. And also you will become a professional + expert developer after reading all these tutorial.
And here is one more benefit, I have create a video for every tutorial. So if it’s getting hard to read for you then you can watch the videos as well from this link


KidePlace.com
In this table view animations tutorial, you’ll be using Swift to enhance an existing app to rotate the cells of a table as you scroll. Along the way, you’ll learn about how transforms are achieved in UIKit, and how to use them in a subtle manner so as not to overwhelm your user with too much happening on-screen at once. You will also get some advice on how to organize your code to keep responsibilities clear and your view controllers slim.