WepsTech
Your Daily Dose of Tech News
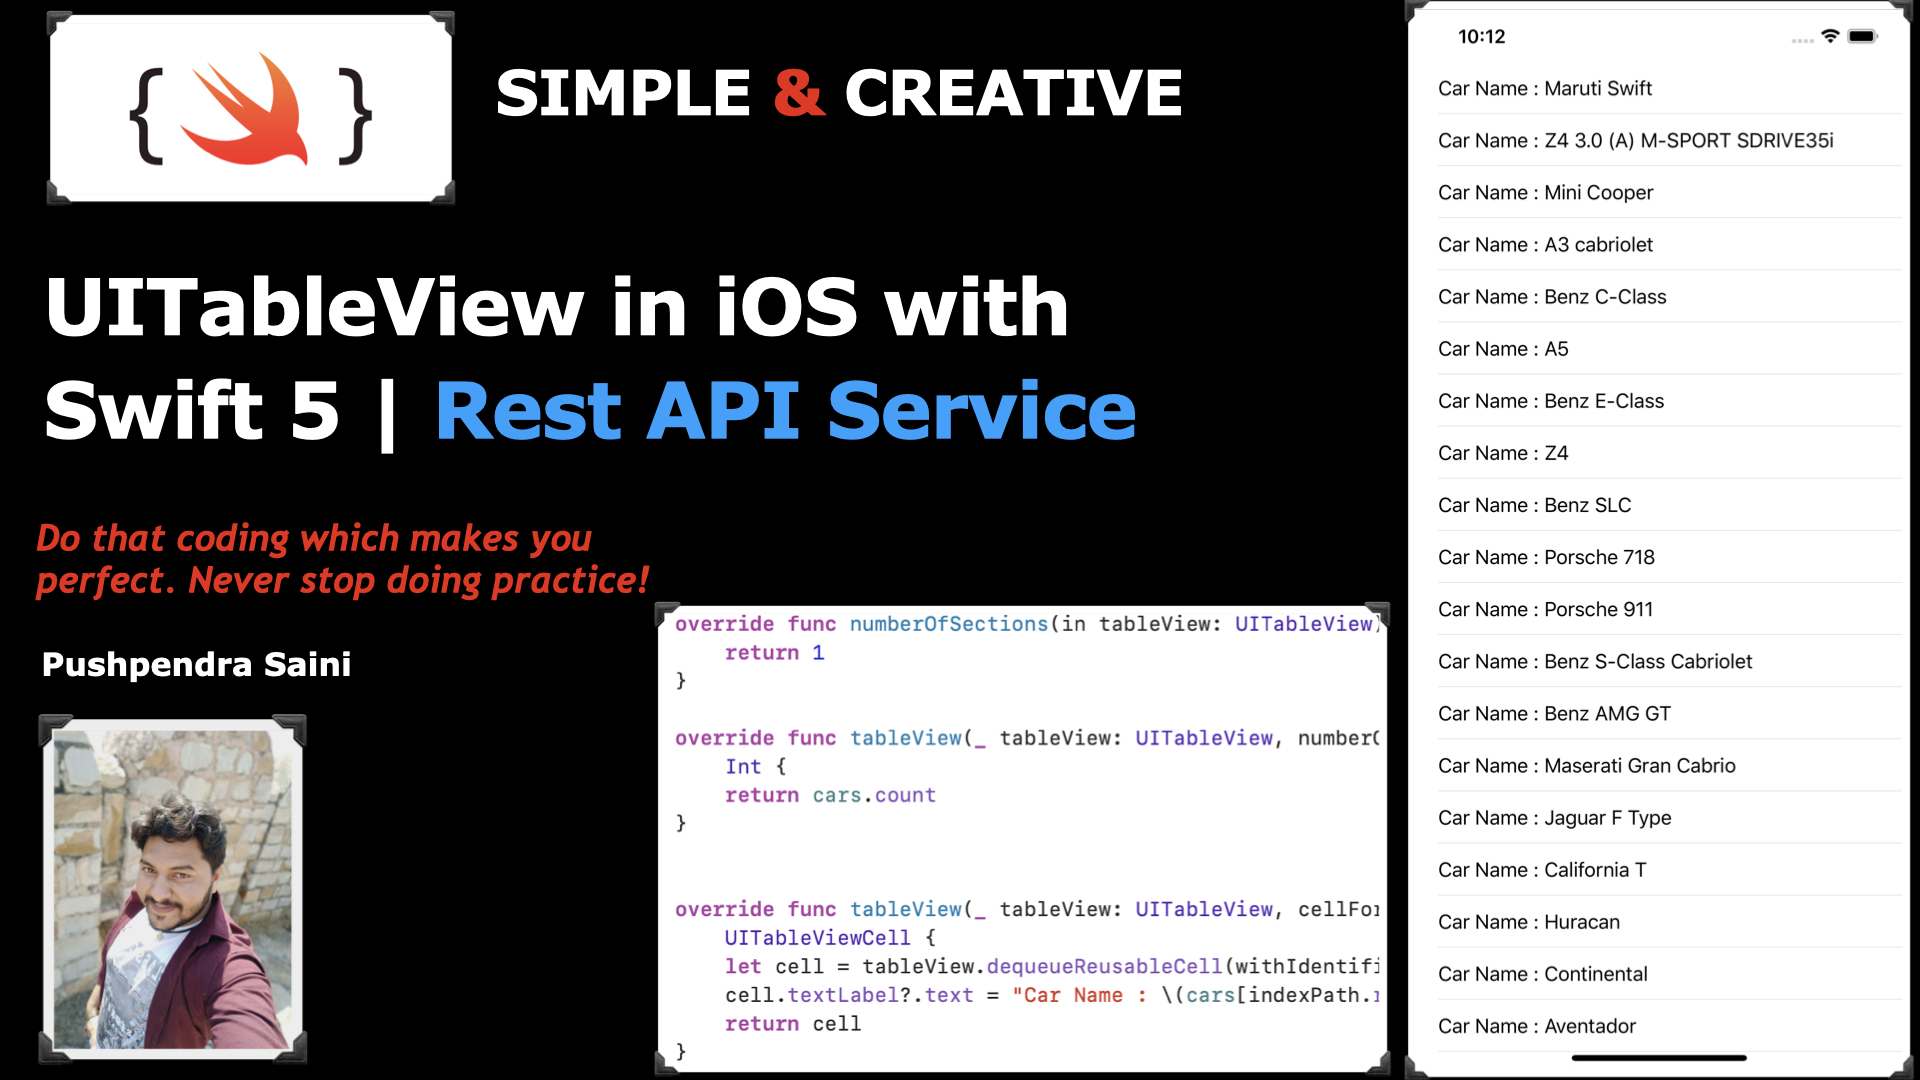
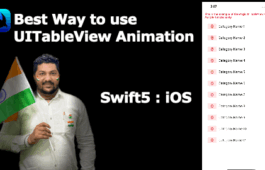
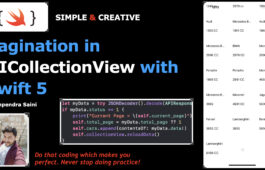
Hey Guys, Welcome to this tutorial. In this tutorial, I will tell you how to use UITableView in iOS with Swift 5 programming language. And you will learn how to use UITableView in iOS with rest services. In this example tutorial, you will get a deep understanding of the UITableView usage and techniques. Here, You will learn how to use the POST method and fetch data from the backend server in iOS with Swift 5 programming language. And this tutorial video has been making so that you could understand in the first attempt. So watch the complete video for better output and result. And if you have any doubt then please ask in the comment box. And share your valuable feedback.
A container view controller that manages a radio-style selection interface, where the selection determines which child view controller to display.
Apple Developer
I have already make the video tutorial for understanding the basics of the UITableView Controller. Here is the video link! First watch the entire video and get the useful code below of this video.
Great now Please get the important code from this video.
//MARK - UITableViewController REST API CALL
    private func fetchData(){
        guard let url = URL(string: "https://myexample.com/api/which_return_json_data") else {
            return
        }
        let params = "page=1&type=Car"
        var request = URLRequest(url: url)
        request.httpMethod = "POST"
        request.httpBody = params.data(using: .utf8)

        let task = URLSession.shared.dataTask(with: request) { (data, response, error) in
            if error != nil {
                print(error.debugDescription)
                return
            }else if data != nil {
                DispatchQueue.main.async {
                    do {
                        let myData = try JSONDecoder().decode(APIResponse<[Cars]>.self, from: data!)
                        if myData.status == 1 {
                            self.cars = myData.data!
                            self.tableView.reloadData()
                        }
                    }catch let error {
                        print(error.localizedDescription)
                    }
                }
            }
        }
        task.resume()
    }
After that please find all the required functions of UITableView Delegate and UITableView DataSource.
    // MARK: - Table view data source

    override func numberOfSections(in tableView: UITableView) -> Int {
        return 1
    }

    override func tableView(_ tableView: UITableView, numberOfRowsInSection section: Int) -> Int {
        return cars.count
    }


    override func tableView(_ tableView: UITableView, cellForRowAt indexPath: IndexPath) -> UITableViewCell {
        let cell = tableView.dequeueReusableCell(withIdentifier: "cell", for: indexPath)
        cell.textLabel?.text = "Car Name : \(cars[indexPath.row].name!)"
        return cell
    }

    override func tableView(_ tableView: UITableView, didSelectRowAt indexPath: IndexPath) {
       // self.performSegue(withIdentifier: "details", sender: self.cars[indexPath.row])

        let story = UIStoryboard(name: "Main", bundle: nil)
        let controller = story.instantiateViewController(identifier: "DetailsController") as! DetailsController
        controller.car = self.cars[indexPath.row]
        self.present(controller, animated: true, completion: nil)
    }

    override func prepare(for segue: UIStoryboardSegue, sender: Any?) {
        if segue.identifier == "details" {
            let controller = segue.destination as! DetailsController
            controller.car = sender as? Cars
        }
    }
Great 😊😊😊😊
In Conclusion, You have done with this tutorial. And hope now the concept of UITableView Controller in iOS with Swift 5. If you have any doubts regarding the UITableView Controller in iOS with Swift 5 then you can comment into the comment box. And if you like this tutorial with a complete description of the simple and attractive tutorial in iOS then please like my video on YouTube and do not forget to subscribe to my YouTube channel. Because you will get lots of videos related to swift development with very sort tricks.
Besides, If you are more curious about the development and knowing about tutorials then follow the below links 👇🏻👇🏻👇🏻😎