WepsTech
Your Daily Dose of Tech News
Hi, Guys welcome to this tutorial. If you are on this tutorial then, I hope you were looking at UIPickerView usage. If Yes, Then you are in the right place. In this tutorial, I will make you understand about the usage of UIPickerView in swift 5 programming language. So, In this tutorial, you will learn all the functionality of UIPickerView in swift 5. And also you will learn about delegates and dataSource of UIPickerView in swift 5 programming languages. So follow the complete tutorial and understand the basics of the UIPickerView in swift 5.
A view that uses a spinning-wheel or slot-machine metaphor to show one or more sets of values.
Xcode Help
A picker view displays one or more wheels that the user manipulates to select items. Each wheel—known as a component—has a series of indexed rows representing the selectable items. Each row displays a string or view so that the user can identify the item on that row. Users select items by rotating the wheels to the desired values, which align with a selection indicator.
The UIDatePicker class uses a custom subclass of
ImportantUIPickerViewto display dates and times. To see an example, tap the add (“+”) button in the Alarm pane of the Clock app.
You provide the data to be displayed in your picker view using a picker data source—an object that adopts the UIPickerViewDataSource protocol. Use your picker view delegate—an object that adopts the UIPickerViewDelegateprotocol—to provide views for displaying your data and responding to user selections.
So, Let’s begin with development. And moreover you will get the complete information in video with the basic example of the UIPickerView. So Below is the link related to video.
After that, I am writing the important code which is related to this video. So Firstly, add the delegate as mention below.
//MARK: Properties
pickerView.delegate  = self
pickerView.dataSource = self
Great after that set the delegate and dataSource method as mention into the video.
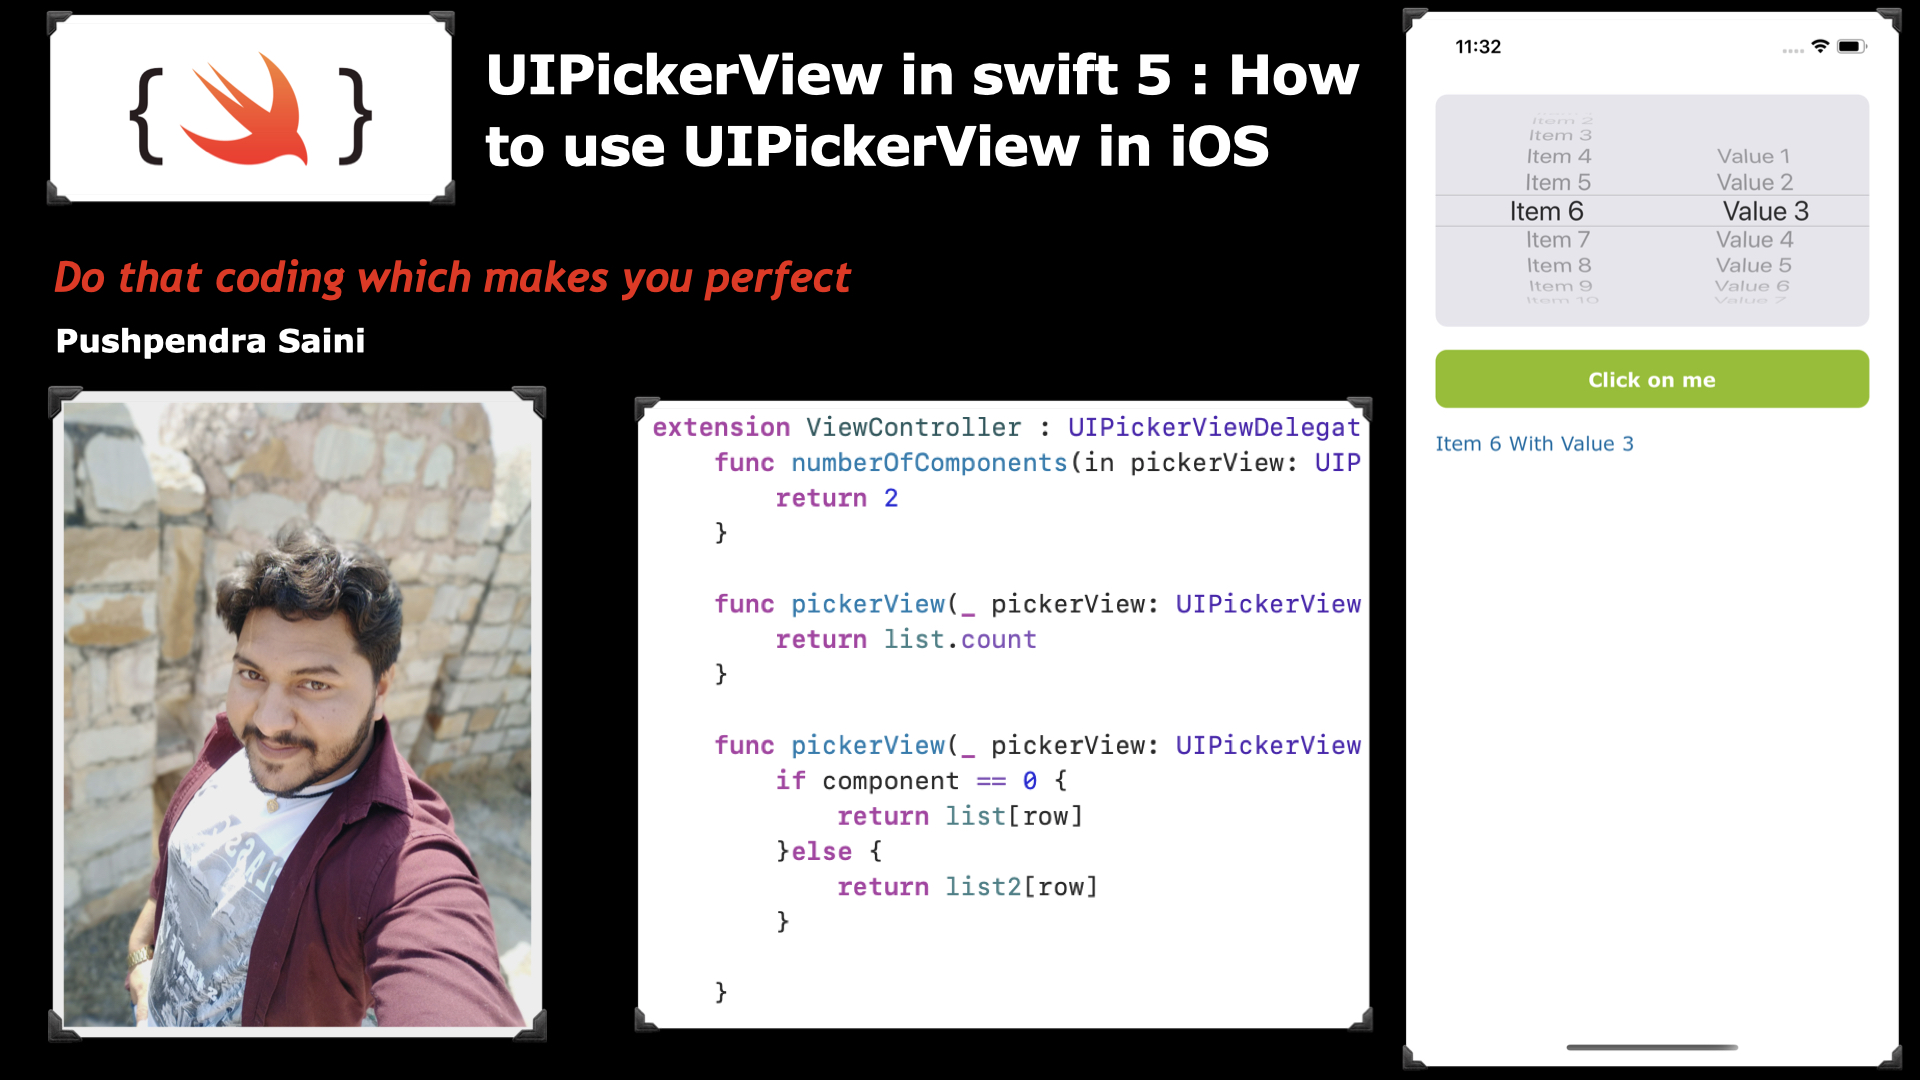
//MARK: Extension for delegate and dataSource
extension ViewController : UIPickerViewDelegate, UIPickerViewDataSource {
    func numberOfComponents(in pickerView: UIPickerView) -> Int {
        return 2
    }

    func pickerView(_ pickerView: UIPickerView, numberOfRowsInComponent component: Int) -> Int {
        return list.count
    }

    func pickerView(_ pickerView: UIPickerView, titleForRow row: Int, forComponent component: Int) -> String? {
        if component == 0 {
            return list[row]
        }else {
            return list2[row]
        }
    }
}
Great work..! In Addition your list would be look like as mention below. First I will write the property of List!
    var list : [String] = [String]()

    var list2 : [String] = [String]()
Finally, Add the item in your list as mention below! For achieving this task then you have add the following code into viewDidLoad(). So write the following code as given!
//MARK: For Loop
for i in 0...10 {
    list.append("Item \(i + 1)")
    list2.append("Value \(i + 1)")
}
Great job 😎😎😊
In Conclusion developers, I hope you are very clear about the UIPickerView. And also about how to use UIPickerView in swift 5 programming language. Dear developer if you would like to suggest something then comment into the comment box. And also subscribe to my YouTube Channel for more updates.
😊😊😊
And Finally, You can more useful links below 👇🏻👇🏻😊😊😎