WepsTech
Your Daily Dose of Tech News
Android development can be a great way to turn your idea into reality or start a promising career as an app developer. and getting started is probably easier than you think. These days Android Development is done with a tool called Android Studio. Android Studio is kind of like the Microsoft Word of writing Android apps; it helps organize our projects and gives us a user friendly way to create what we’re looking for. In this tutorial we will focus on how to create an attractive splash screen for android application. Don’t worry if you don’t have any experience with Android or even programming in general; as long as you follow along we’ll all end up at the same place.
In this tutorial I will let you know about the basics programming through android studio for creating and attractive splash screen. Splash screen is the very first screen of your android application. From this screen your application will start.
So let’s begin with creative splash screen in android. Here you have to focus on Java and xml. By using this skills you can easily become a bright developer. If you want a video reference of this tutorial then you can visit to the given link. Android Development Tutorial – 1
So Let’s start with the following procedure.


Dear learner here is the code of splash activity. Please paste the below code into your xml file of your activity.
<?xml version="1.0" encoding="utf-8"?>
<androidx.constraintlayout.widget.ConstraintLayout xmlns:android="http://schemas.android.com/apk/res/android"
xmlns:app="http://schemas.android.com/apk/res-auto"
xmlns:tools="http://schemas.android.com/tools"
android:layout_width="match_parent"
android:layout_height="match_parent"
android:background="@android:color/white"
tools:context=".MainActivity">
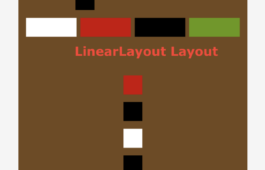
<LinearLayout
android:layout_width="match_parent"
android:layout_height="match_parent"
android:gravity="center"
android:orientation="vertical">
<ImageView
android:id="@+id/img_splash"
android:layout_width="40dp"
android:layout_height="40dp"
android:contentDescription="@string/app_name"
android:src="@drawable/android" />
<TextView
android:id="@+id/tv_header"
android:layout_width="match_parent"
android:layout_height="wrap_content"
android:layout_marginLeft="10dp"
android:layout_marginTop="50dp"
android:layout_marginRight="10dp"
android:gravity="center"
android:text="@string/splash_header"
android:textColor="@android:color/black"
android:textSize="25sp"
android:textStyle="bold" />
<TextView
android:id="@+id/tv_des"
android:layout_width="match_parent"
android:layout_height="wrap_content"
android:layout_marginLeft="10dp"
android:layout_marginTop="10dp"
android:layout_marginRight="10dp"
android:gravity="center"
android:text="@string/splash_description"
android:textColor="@android:color/black"
android:textSize="15sp" />
</LinearLayout>
</androidx.constraintlayout.widget.ConstraintLayout>
In this activity_main.xml, I have also used some content from string.xml file. Below is the string.xml file.
<resources>
    <string name="app_name">Android Tute1</string>
    <string name="splash_header">Let\'s build the world!</string>
    <string name="splash_description">Hi, Welcome to the mobile application development,
        Here you are going to learn different - 2 techniques to make your application more attractive.</string>
</resources>
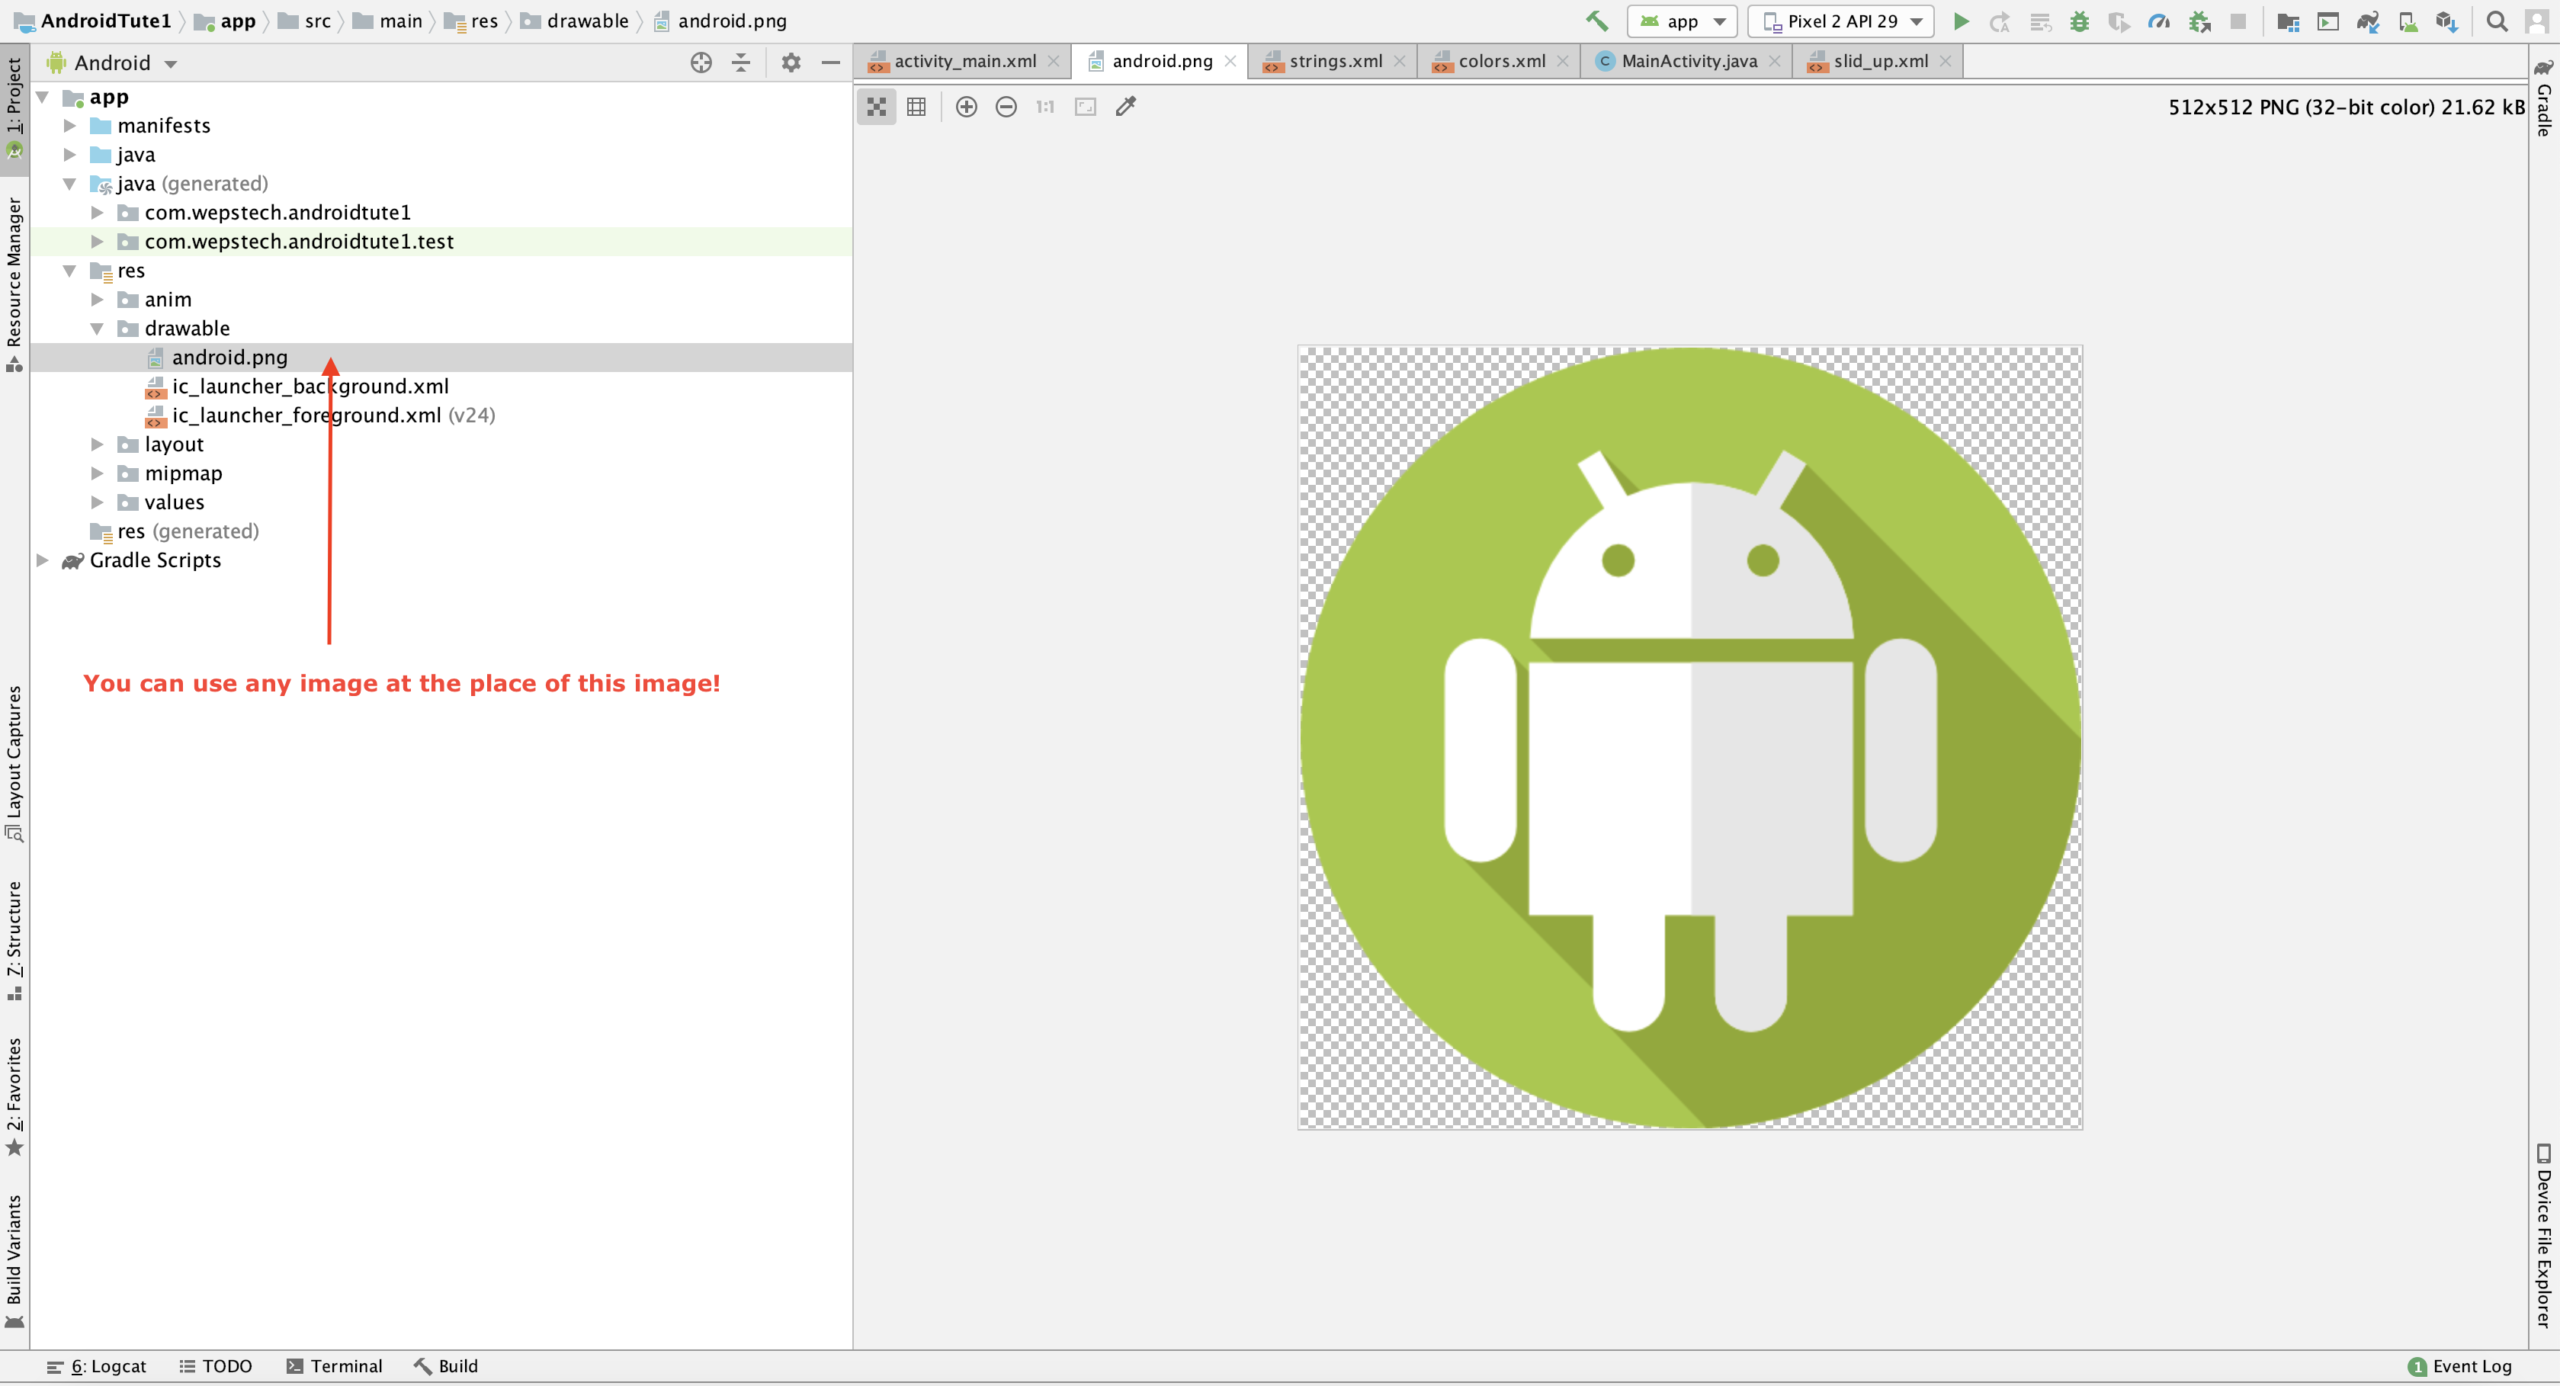
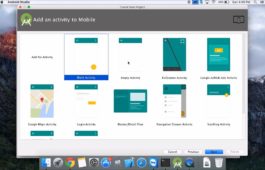
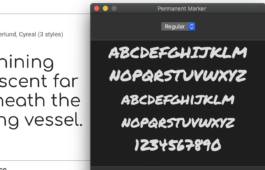
Above all, Is wonderful. After that let’s move to next task. Add one image inside your drawable folder. As given below

After that, Create animation file. Therefore, click on res folder and create new Directory with name anim. After that create new animation resource file under anim directory. First file create with slide_up name and similarly another file create with zoom_in name. For this project I have create two animation file, both file code written as.
<?xml version="1.0" encoding="utf-8"?>
<set xmlns:android="http://schemas.android.com/apk/res/android"
    android:shareInterpolator="@android:anim/decelerate_interpolator">
    <translate
        android:duration="1000"
        android:fromXDelta="0%"
        android:fromYDelta="100%"
        android:toXDelta="0%"
        android:toYDelta="0%" />
</set>
Another file is zoom_in.xml
<set xmlns:android="http://schemas.android.com/apk/res/android"
    android:fillAfter="true">
    <scale
        android:duration="1000"
        android:fromXScale="1"
        android:fromYScale="1"
        android:pivotX="50%"
        android:pivotY="50%"
        android:toXScale="3"
        android:toYScale="3" />
</set>
After that, come into your AndroidMenifest.xml file and add NoActionBar theme to your splash activity.
<?xml version="1.0" encoding="utf-8"?>
<manifest xmlns:android="http://schemas.android.com/apk/res/android"
    xmlns:tools="http://schemas.android.com/tools"
    package="com.wepstech.androidtute1">

    <application
        android:allowBackup="true"
        android:icon="@mipmap/ic_launcher"
        android:label="@string/app_name"
        android:roundIcon="@mipmap/ic_launcher_round"
        android:supportsRtl="true"
        android:theme="@style/AppTheme"
        tools:ignore="GoogleAppIndexingWarning">
        <activity
            android:name=".MainActivity"
            android:theme="@style/Theme.AppCompat.Light.NoActionBar">
            <intent-filter>
                <action android:name="android.intent.action.MAIN" />

                <category android:name="android.intent.category.LAUNCHER" />
            </intent-filter>
        </activity>
    </application>

</manifest>
Great Job, After that we are on final stage. Now add the following code into your java activity.
package com.wepstech.androidtute1;

import androidx.appcompat.app.AppCompatActivity;

import android.app.Activity;
import android.os.Bundle;
import android.view.animation.Animation;
import android.view.animation.AnimationUtils;
import android.widget.ImageView;
import android.widget.TextView;

public class MainActivity extends Activity {

    @Override
    protected void onCreate(Bundle savedInstanceState) {
        super.onCreate(savedInstanceState);
        setContentView(R.layout.activity_main);

        ImageView img_splash = findViewById(R.id.img_splash);

        Animation zoom_in = AnimationUtils.loadAnimation(getApplicationContext(), R.anim.zoom_in);
        img_splash.startAnimation(zoom_in);


        TextView tv_header = findViewById(R.id.tv_header);
        TextView tv_des = findViewById(R.id.tv_des);


        Animation slid_up = AnimationUtils.loadAnimation(getApplicationContext(), R.anim.slid_up);
        tv_header.startAnimation(slid_up);
        tv_des.startAnimation(slid_up);
    }
}
In conclusion, You have achieved all the basic programming scenario. Now just attach your android device to your laptop to desktop and run your project. After that you will see the desire output.
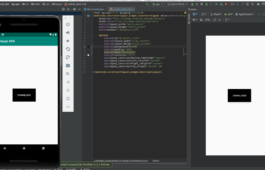
Output looks like this. And these content will appear with the animation.

Thanks for going through with this tutorial, I wish you all the best for your career and growth. Good Luck – Happy Coding ☺️❤️😍


How to create attractive splash screen in android | Tutorial – 1 | Nikkies Tutorials
[…] How to install android studio – http://www.wepstech.com/how-to-install-android-studio/ Link Related to this video – http://www.wepstech.com/create-attractive-splash-screen/ […]