WepsTech
Your Daily Dose of Tech News
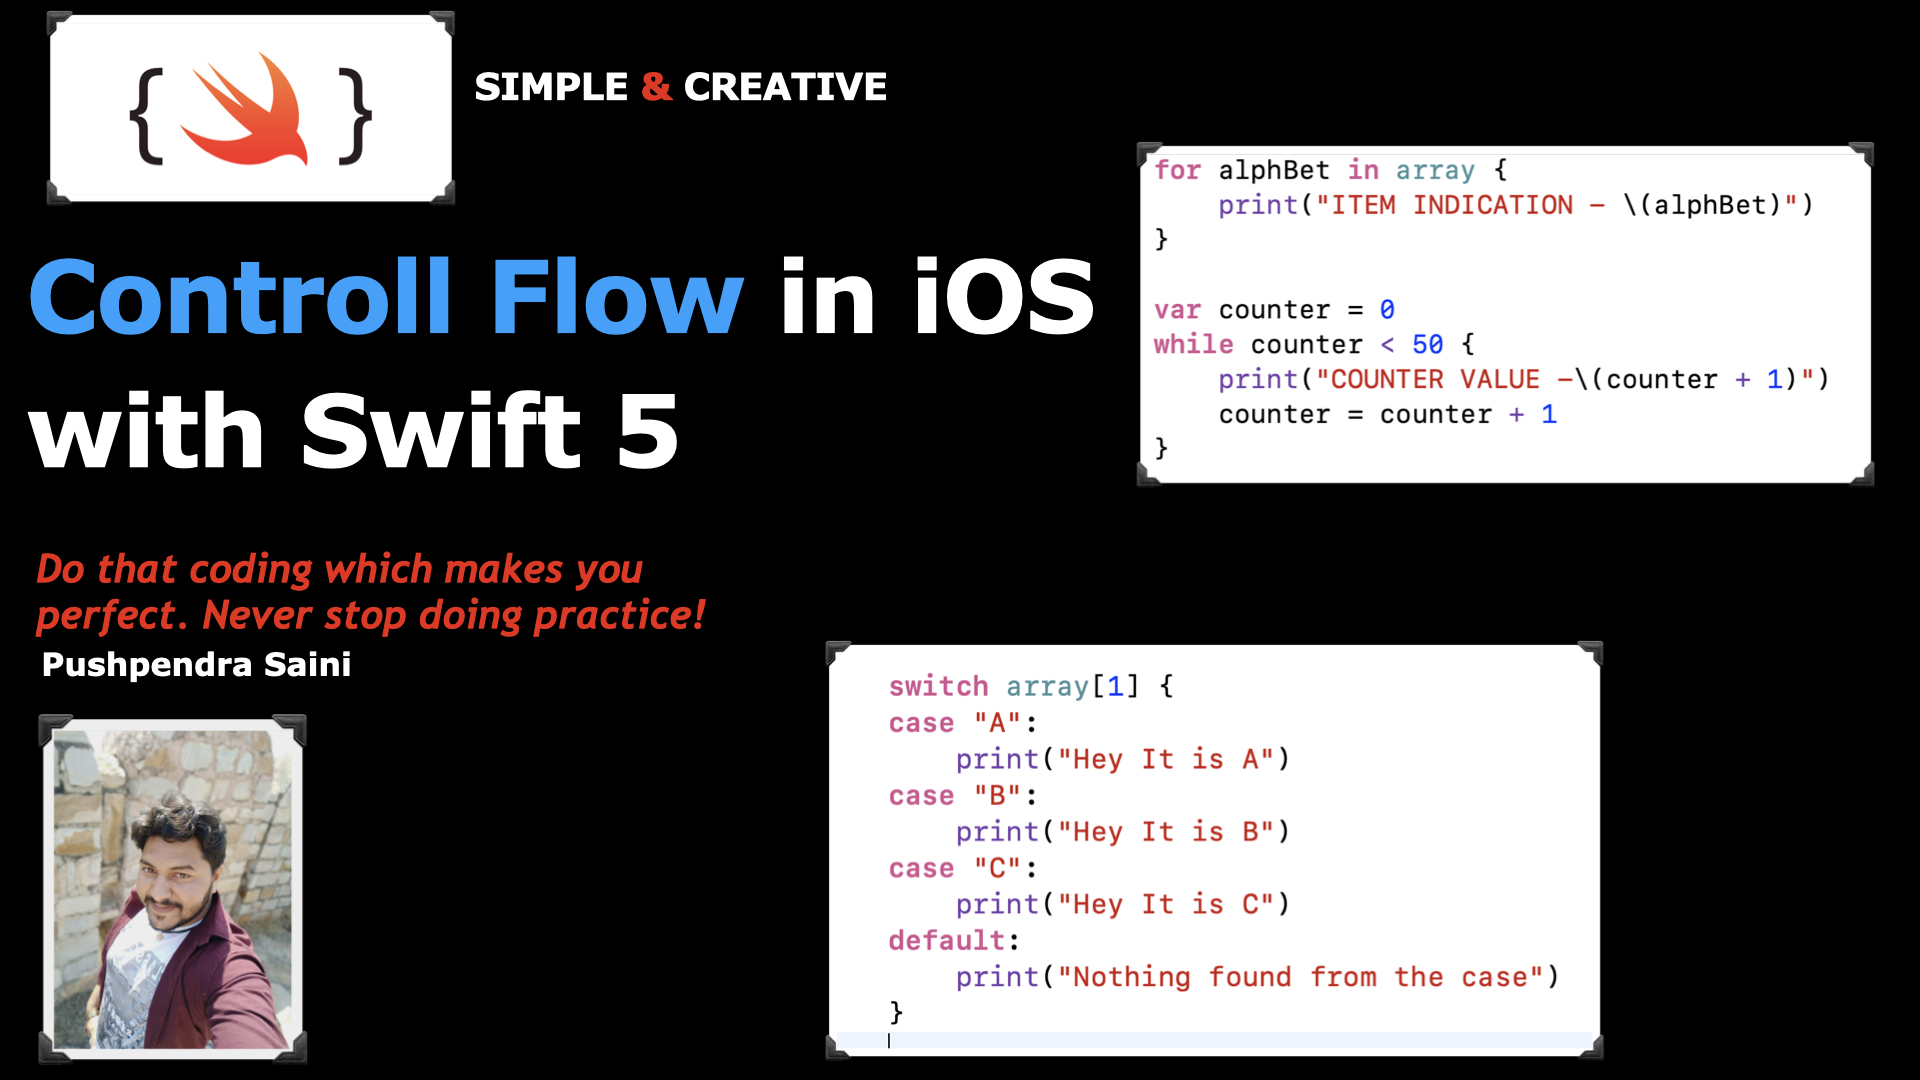
Hey, Guys welcome to this tutorial. In this complete video, I will make you understand the quick trick for how to Control Flow in iOS with Swift 5. And this is a simple way to achieve our goals. Through this simple video tutorial, you can learn more interesting things about the Control Flow in iOS with Swift 5. So watch the complete video. And if you watched the complete video then do not forget to give your suggestion into the comment box. Because your feedback & suggestions do matter for me 😊😊😊😊👇🏻
And finally, I would like to say that, If you like this video and it’s helpful for your project then click on the like button and do not forget to subscribe to this YouTube channel for future updates.
Great, Below get the useful code related to this entire video.
//
//  ViewController.swift
//  Controll Flow
//
//  Created by Pushpendra on 14/07/20.
//  Copyright © 2020 Pushpendra. All rights reserved.
//

import UIKit

class ViewController: UIViewController {

    let array = ["A", "B", "C", "D", "E", "F", "G", "H", "I", "J", "K", "L", "M", "N", "O", "P", "Q", "R", "S", "T", "U", "V", "W", "X", "Y", "Z"]

    override func viewDidLoad() {
        super.viewDidLoad()

        for i in 0...array.count - 1 {
            if array[i] == "C" || array[i] == "D" {
                return
            }
            print("ITEM - \(array[i])")
        }

        for alphBet in array {
            print("ITEM INDICATION - \(alphBet)")
        }

        var counter = 0
        while counter < 50 {
            print("COUNTER VALUE -\(counter + 1)")
            counter = counter + 1
        }

        switch array[1] {
        case "A":
            print("Hey It is A")
        case "B":
            print("Hey It is B")
        case "C":
            print("Hey It is C")
        default:
            print("Nothing found from the case")
        }
    }
}
Great work, I hoe you have follow the complete video tutorial.
In Conclusion, You have done with this tutorial. And I hope now the concept of Control Flow in iOS is clear. Firstly, If you have any doubts regarding the Control Flow in iOS in iOS with Swift 5. Then you can comment into the comment box. And If you like this tutorial with a complete description of the simple and attractive tutorial in iOS then please like my video on YouTube and do not forget to subscribe to my YouTube channel. Because you will get lots of videos related to swift development with very sort tricks.
In addition, If you are more curious about the development and knowing about tutorials then follow the below links 👇🏻👇🏻👇🏻😎