WepsTech
The world of development

Hi Guys, Welcome to the new trick. Here you learn How to create Directory on server in Java Android. Here I have took a basic example of a directory. In other word, I will tell you the very sort trick for uploading the big data on the server without api interaction.
So let’s begin with the practical programming. This technique really will save your life if you are working on the big application and you are worried about server hanging issue. Then go through with this technique. At the very first we will create a directory on the server. So let’s begin with the step by step.
Now it’s time for coding 😎😎😎😎
Add Internet permission to your AndroidManifest.xml file.
<?xml version="1.0" encoding="utf-8"?>
<manifest xmlns:android="http://schemas.android.com/apk/res/android"
    package="app.upload">

    <uses-permission android:name="android.permission.INTERNET" />

    <application
        android:allowBackup="true"
        android:icon="@mipmap/ic_launcher"
        android:label="@string/app_name"
        android:roundIcon="@mipmap/ic_launcher_round"
        android:supportsRtl="true"
        android:theme="@style/AppTheme">
        <activity android:name=".MainActivity">
            <intent-filter>
                <action android:name="android.intent.action.MAIN" />

                <category android:name="android.intent.category.LAUNCHER" />
            </intent-filter>
        </activity>
    </application>

</manifest>
Great.. 👍
Now we code into Java. And your java file looks like that.
import android.os.AsyncTask;
import android.os.Bundle;
import android.util.Log;
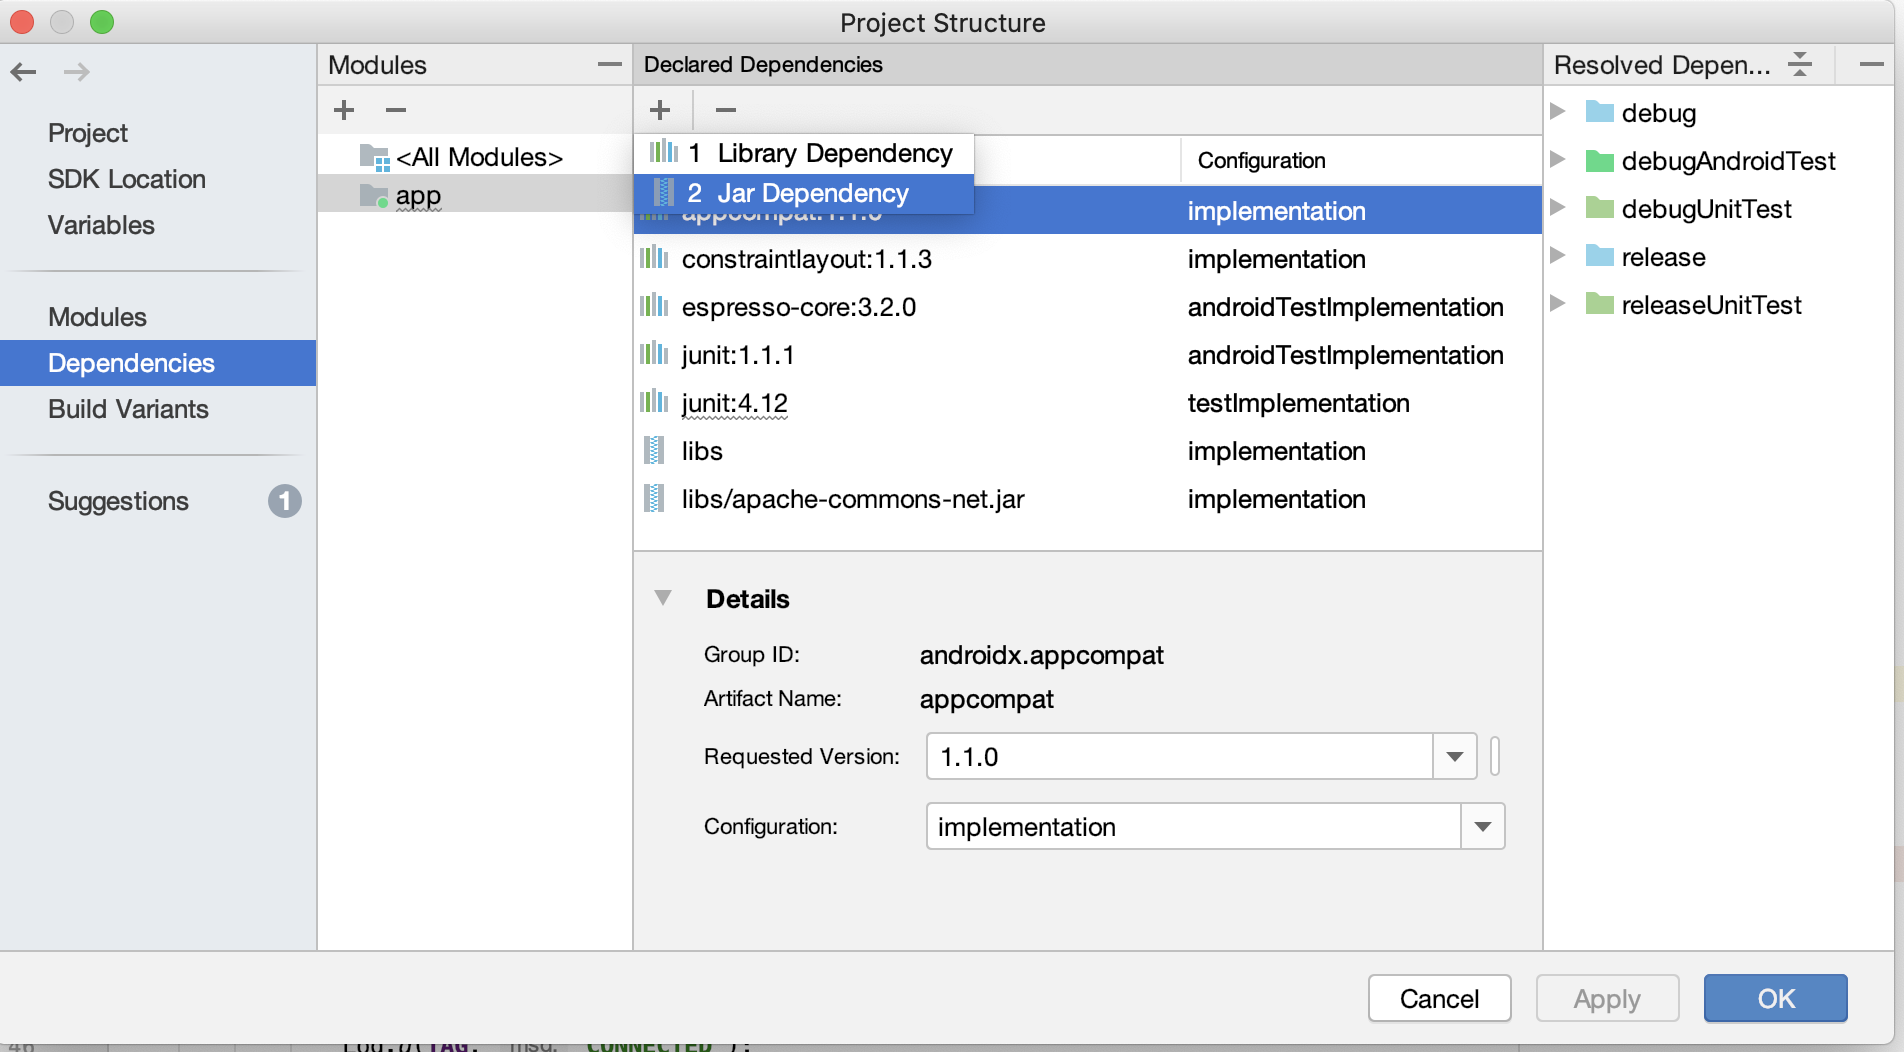
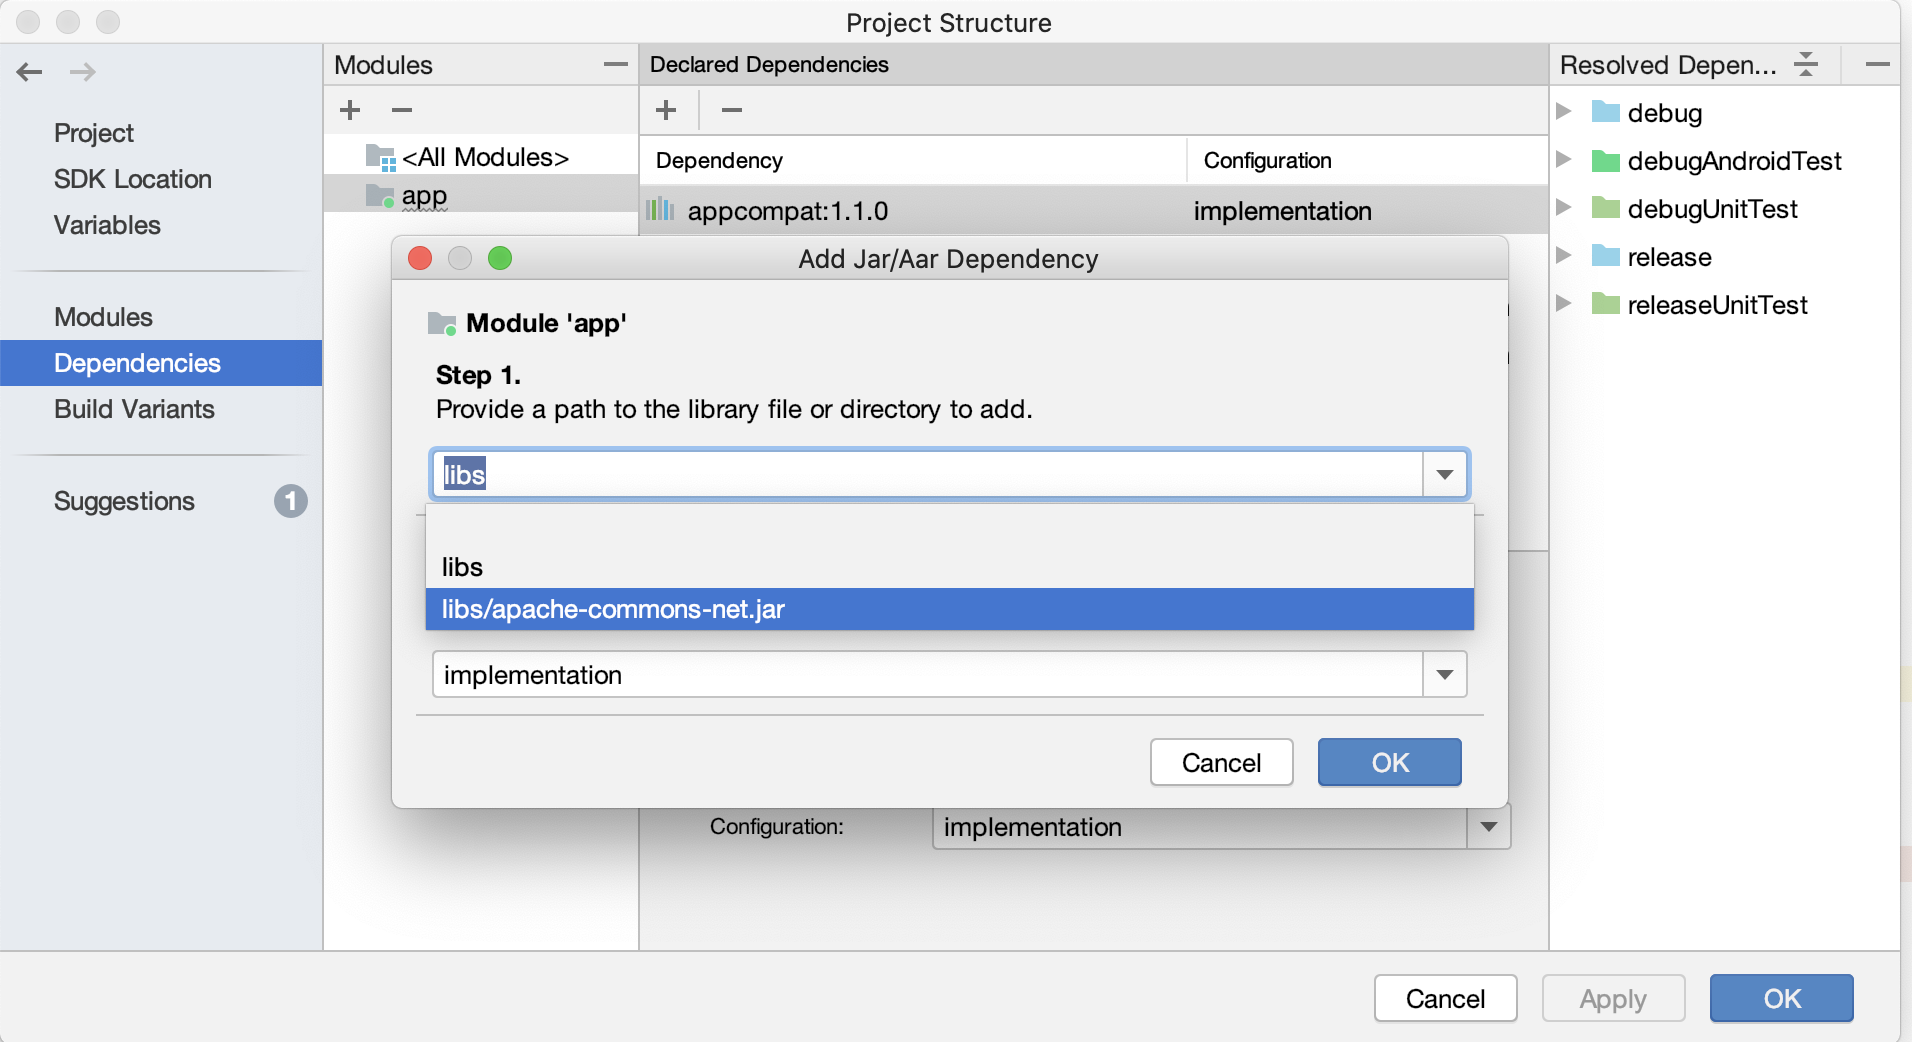
import org.apache.commons.net.ftp.FTPClient;
public class MainActivity extends AppCompatActivity {
@Override
protected void onCreate(Bundle savedInstanceState) {
super.onCreate(savedInstanceState);
setContentView(R.layout.activity_main);
new CreateDir().execute();
}
static class CreateDir extends AsyncTask<Void, Void, Void> {
String TAG = "MAIN_ACTIVITY";
@Override
protected Void doInBackground(Void... voids) {
String server = "XXX.XX.XX.XXX"; // YOUR IP ADDRESS OR DOMAIN NAME EX - http://example.com OR https://example.com
String username = "XXXXXXXXXXXXXX"; // Your ftp username EX - root OR Ubuntu or XYZ
String password = "XXXXXXXXXXXXXXXX"; // Your ftp password EX - NCSJN123 OR *#&YBSUSDN
FTPClient ftpClient = new FTPClient();
try {
ftpClient.connect(server);
ftpClient.login(username, password);
ftpClient.enterLocalPassiveMode();
Log.d(TAG, "CONNECTED");
String dirPath = "/public_html/upload_files/new_dir";
boolean created = ftpClient.makeDirectory(dirPath);
Log.d(TAG, String.valueOf(created));
ftpClient.logout();
ftpClient.disconnect();
Log.d(TAG, "DISCONNECTED");
} catch (Exception e) {
e.printStackTrace();
}
return null;
}
}
}
😎 😎😎 COOL 😎😎😎😎
NOTE * – If you are facing any issue something like permission denied or Host name is not associated. Then Uninstall your application first and again install. But make sure you follow the complete tutorial as per suggestion.
In Conclusion, You have done with all the functionality. But if still you are facing any issue then you can watch the complete video here.