WepsTech
The world of development
That awesome that you would like to make your android application more beautiful with the help of custom typeface in your android application. Here you can also get the typeface for the alert dialog box.
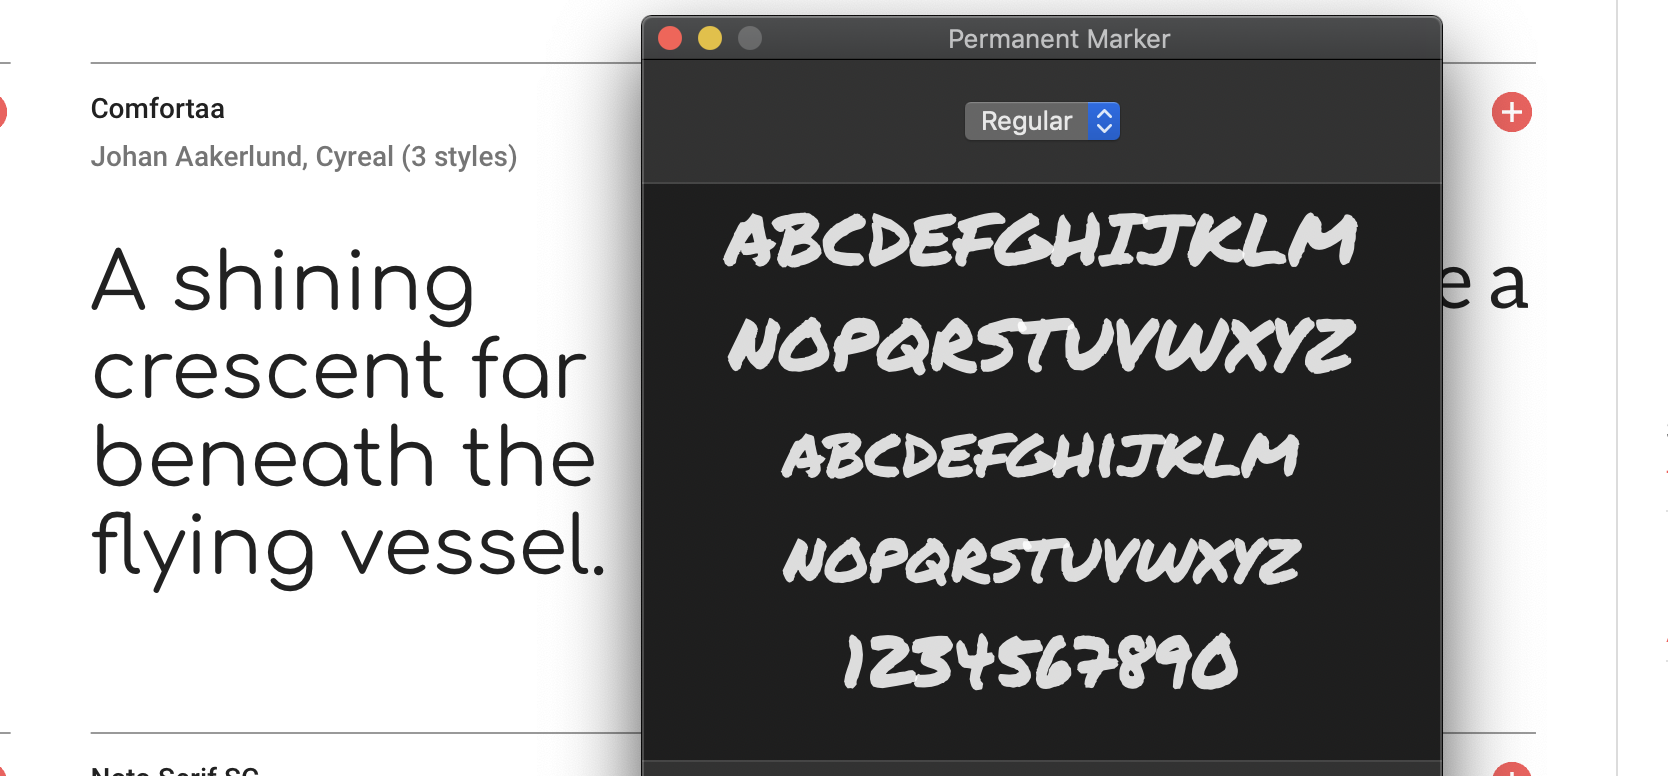
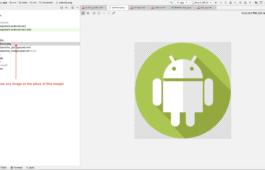
So very first get the fonts file which you want to use into your android application. For this tutorial, I am using google fonts.
Download fonts and copy into your project with folder name assets. Like that..

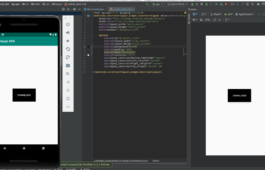
Awesome now do some coding – in your Kotlin file
package com.wpt.popup

import android.graphics.Color
import android.graphics.Typeface
import android.os.Bundle
import android.support.v4.content.ContextCompat
import android.support.v7.app.AlertDialog
import android.support.v7.app.AppCompatActivity
import android.util.Log
import android.view.Window
import android.widget.Button
import android.widget.TextView

class MainActivity : AppCompatActivity() {

    override fun onCreate(savedInstanceState: Bundle?) {
        super.onCreate(savedInstanceState)
        setContentView(R.layout.activity_main)

        val btnShow: Button = findViewById(R.id.btnShow)

        val typeExBold: Typeface = Typeface.createFromAsset(assets, "ex_bold.ttf")
        val light: Typeface = Typeface.createFromAsset(assets, "light.ttf")

        btnShow.typeface = typeExBold

        btnShow.setOnClickListener {
            showPop(typeExBold, light)
        }

    }

    private fun showPop(bold: Typeface, light: Typeface) {
        val builder = AlertDialog.Builder(this)
        builder.setTitle("Testing POP Up window?")
        builder.setMessage("Hi this tutorial shows you, How you can use typeface in your android project with default popup window..!!")
        builder.setNegativeButton("Cancel") { _, _ ->
            Log.d("BUTTON_TAP", "CANCEL")
        }
        builder.setPositiveButton("OK") { _, _ ->
            Log.d("BUTTON_TAP", "OK")
        }

        val alertDialog = builder.create()
        alertDialog.show()

        //This code should be always after alertDialog.show() function

        val view: Window? = alertDialog.window
        val title: TextView = view!!.findViewById(R.id.alertTitle)
        val message: TextView = view.findViewById(android.R.id.message)
        val btn1: Button = view.findViewById(android.R.id.button1)
        val btn2: Button = view.findViewById(android.R.id.button2)

        title.typeface = bold
        message.typeface = light

        btn1.typeface = bold
        btn2.typeface = bold

        title.setTextColor(Color.RED)
        message.setTextColor(Color.DKGRAY)
        btn1.setTextColor(Color.BLACK)
        btn2.setTextColor(ContextCompat.getColor(this, R.color.colorAccent))
    }
}
Wonderful now write some line of code into your xml file as mention below.
<?xml version="1.0" encoding="utf-8"?>
<LinearLayout xmlns:android="http://schemas.android.com/apk/res/android"
    xmlns:tools="http://schemas.android.com/tools"
    android:layout_width="match_parent"
    android:layout_height="match_parent"
    tools:context=".MainActivity">

    <Button
        android:id="@+id/btnShow"
        android:layout_width="match_parent"
        android:layout_height="wrap_content"
        android:layout_margin="40dp"
        android:background="@android:color/black"
        android:clickable="true"
        android:focusable="true"
        android:foreground="?android:attr/selectableItemBackground"
        android:text="Show Popup"
        android:textAllCaps="false"
        android:textColor="@android:color/white"
        android:textSize="17sp" />

</LinearLayout>
You can learn more about kotlin tutorial like as –
How to check the instanceof anything in android Kotlin , Custom adapter for RecyclerView in Android with Kotlin, How To Work With LayoutInflater In Kotlin and much more…!!
Wish you good luck happy coding 🙂


ปั้มไลค์
Like!! I blog quite often and I genuinely thank you for your information. The article has truly peaked my interest.